Look at the following steps to get a clear idea of how to use the WCF Flip Box widget:
Step – 1:
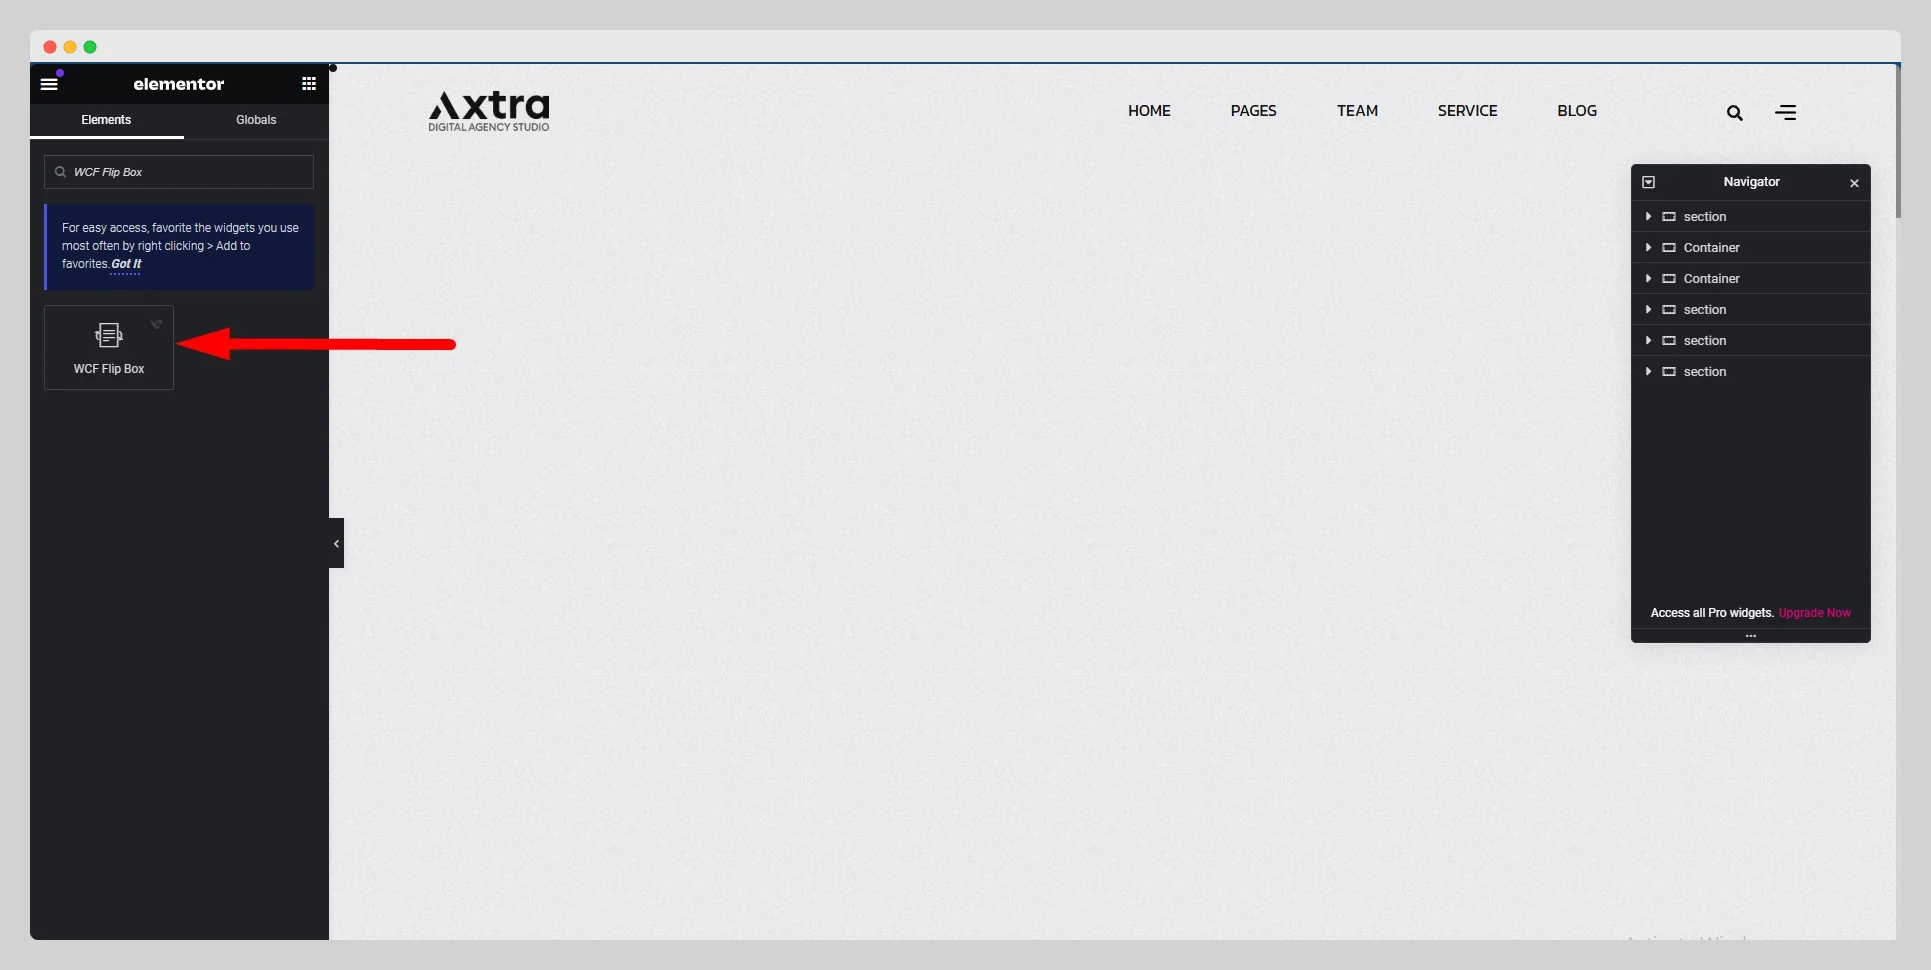
First, drag the “WCF Flip Box” widget to a container on your page from the Elementor panel.

Step – 2:
Under the “Content” section, set up the content type, icon type, icon, title, title tag, and content for the “Front” and “Back” flip boxes.

Step – 3:
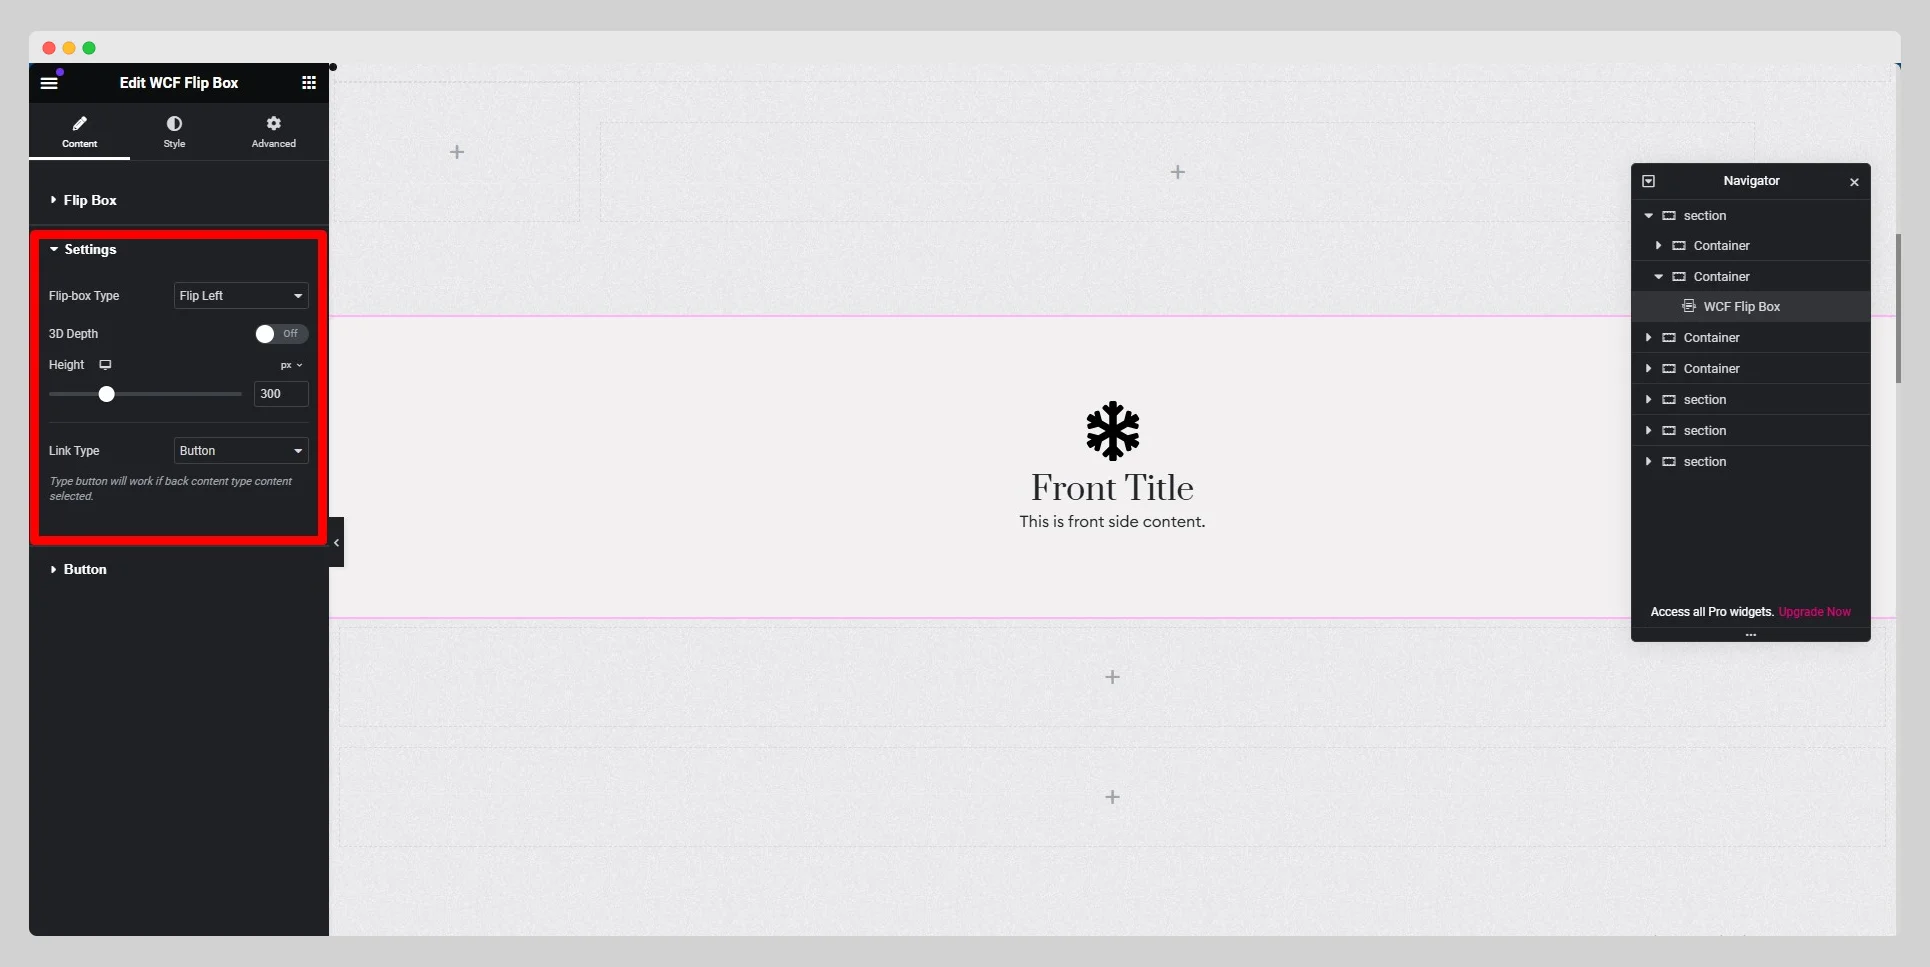
From the “Settings” option, choose a flip-box type from the drop-down list located next to the “Flip-box Type” option. Enable the “3D Depth” button, and adjust the height and link type.

Step – 4:
From the “Button” option, adjust the style, hover style, text, link, icon, direction, and other parameters for the button.

Step – 5:
Under the “Style” section, customize the style for “Flip Box,” “Front Icon,” “Back Icon,” “Title/Content,” and “Button.” Finally, hit the “Update” button.
