To commence your archive layout setup journey, you can adhere to the following steps:
Step-1:
Move to Settings>Reading from the dashboard. Then select your blog page under the “Posts page” option and hit the “Save Changes” button.

Step-2:
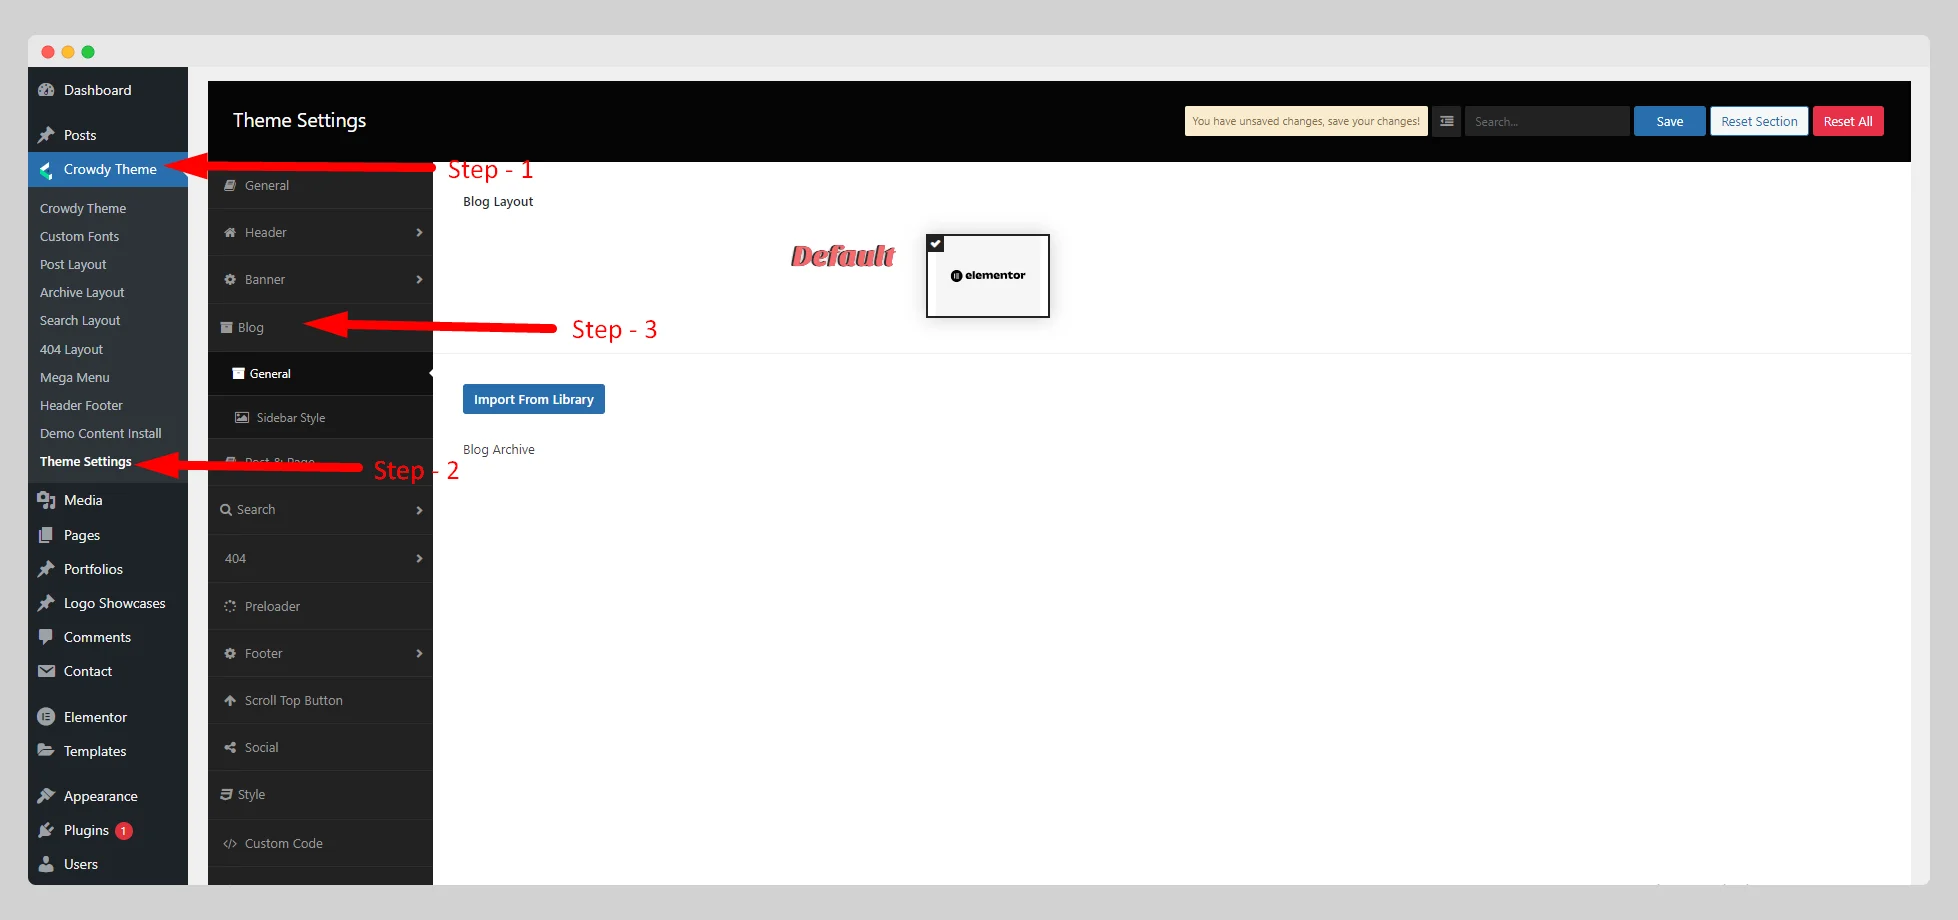
After determining your blog page, your next task is to navigate to Crowdy Theme>Theme Settings>Blog. There, you can select the “elementor” option to harness the excellence of the Elementor blog layout on your website. You can also choose the default blog layout by adjusting some settings.
Step-3:
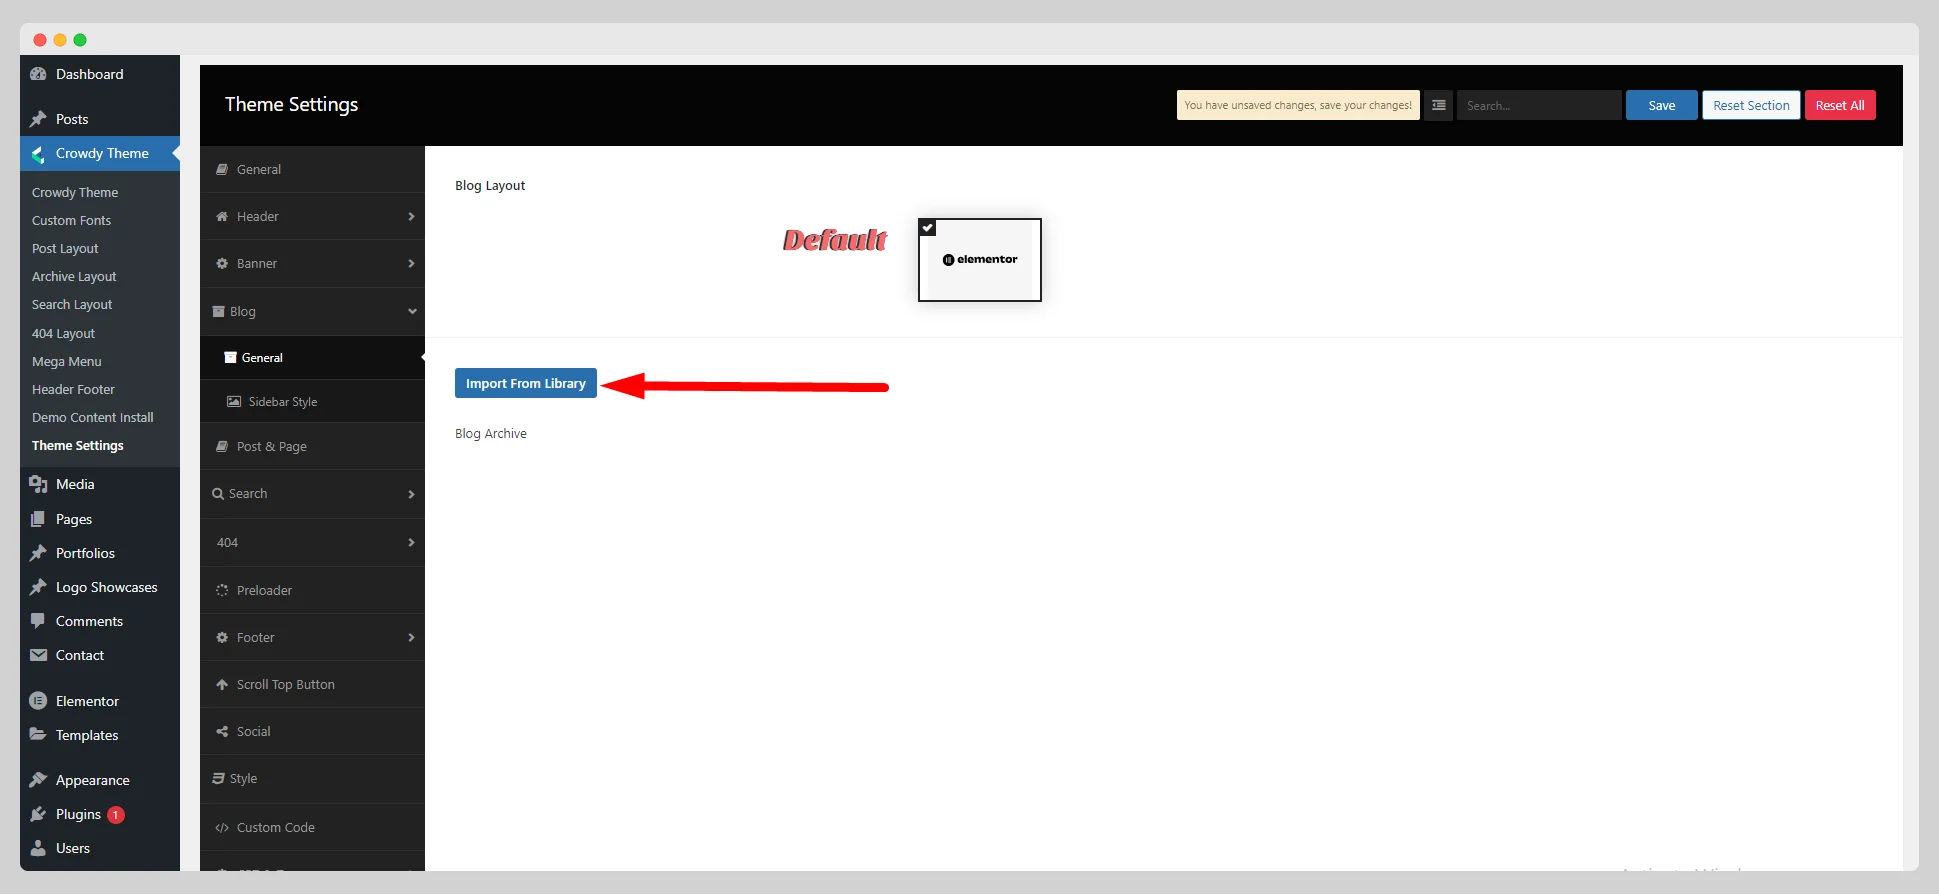
Once you select “elementor,” you will be allowed to import Elementor’s blog template layout directly from there by pressing the “Import From Library.” button. Carefully press the “Save” button to make the change.
Step-4:
You can now jump to the Crowdy Theme>Archive Layout. Then click on the “Import Templates” button to explore a wide assortment of pre-designed Elementor blog templates.

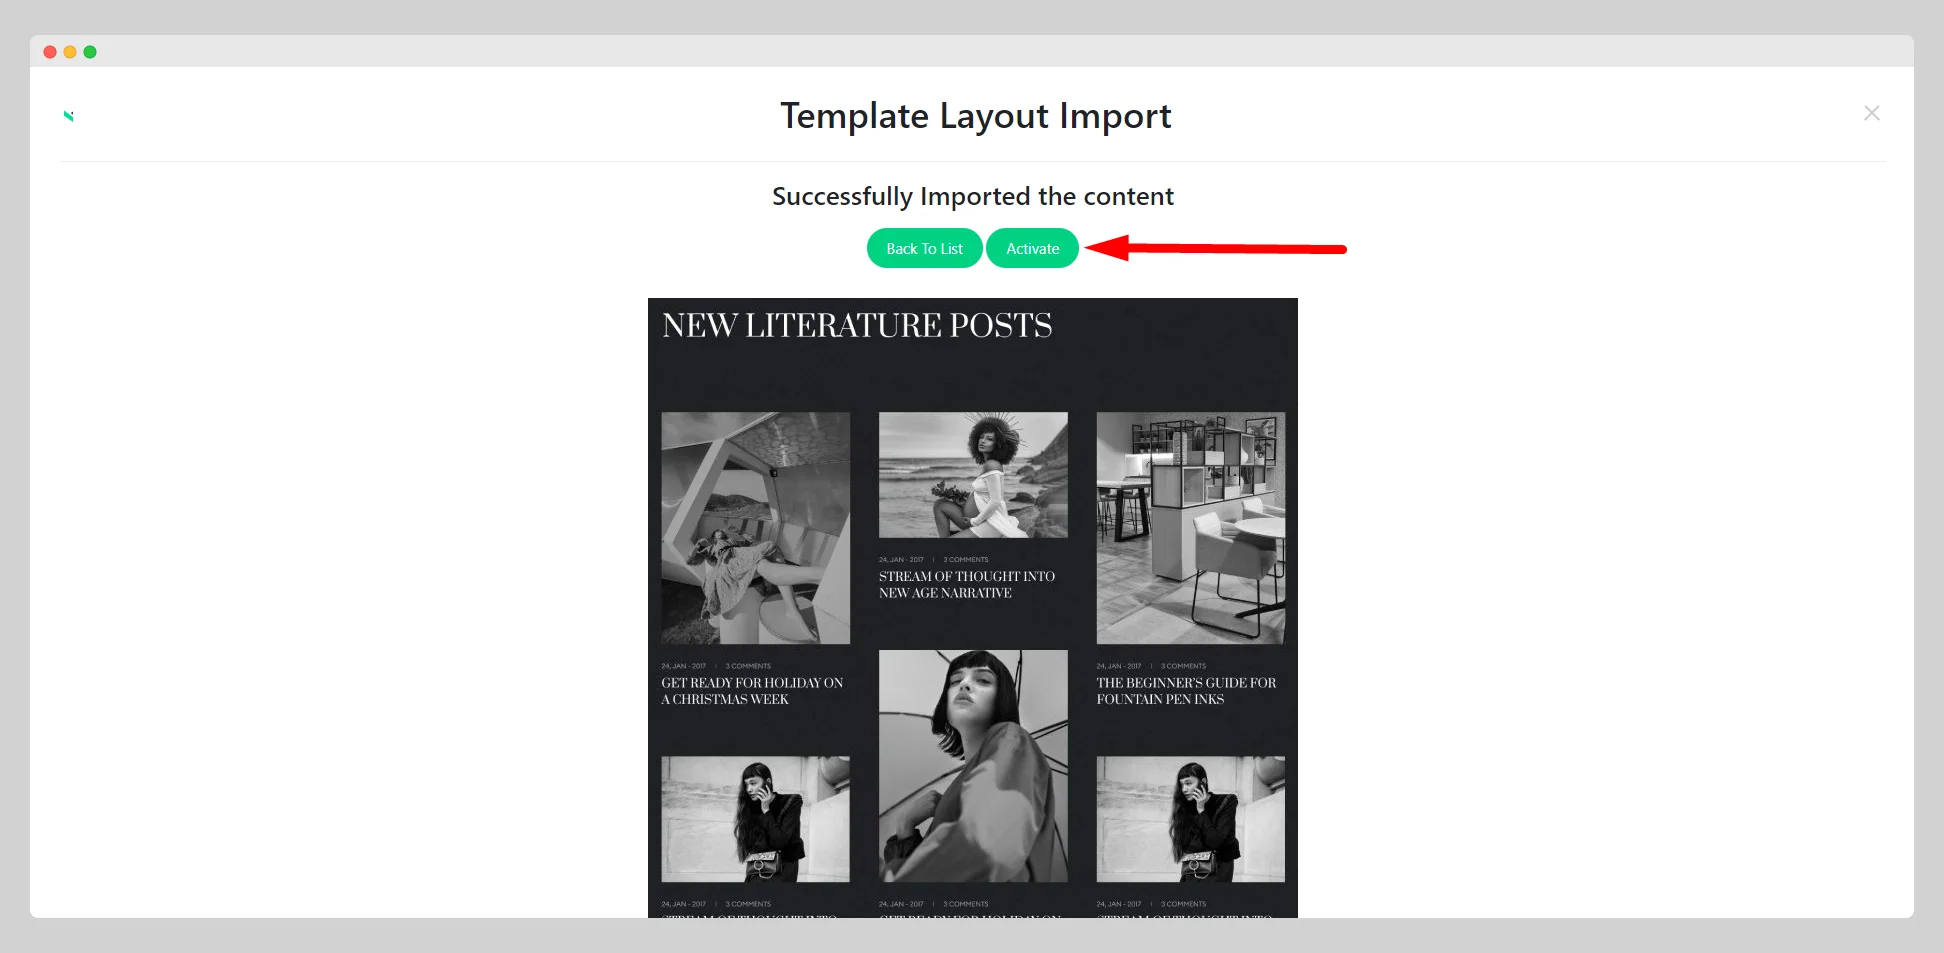
Step-5:
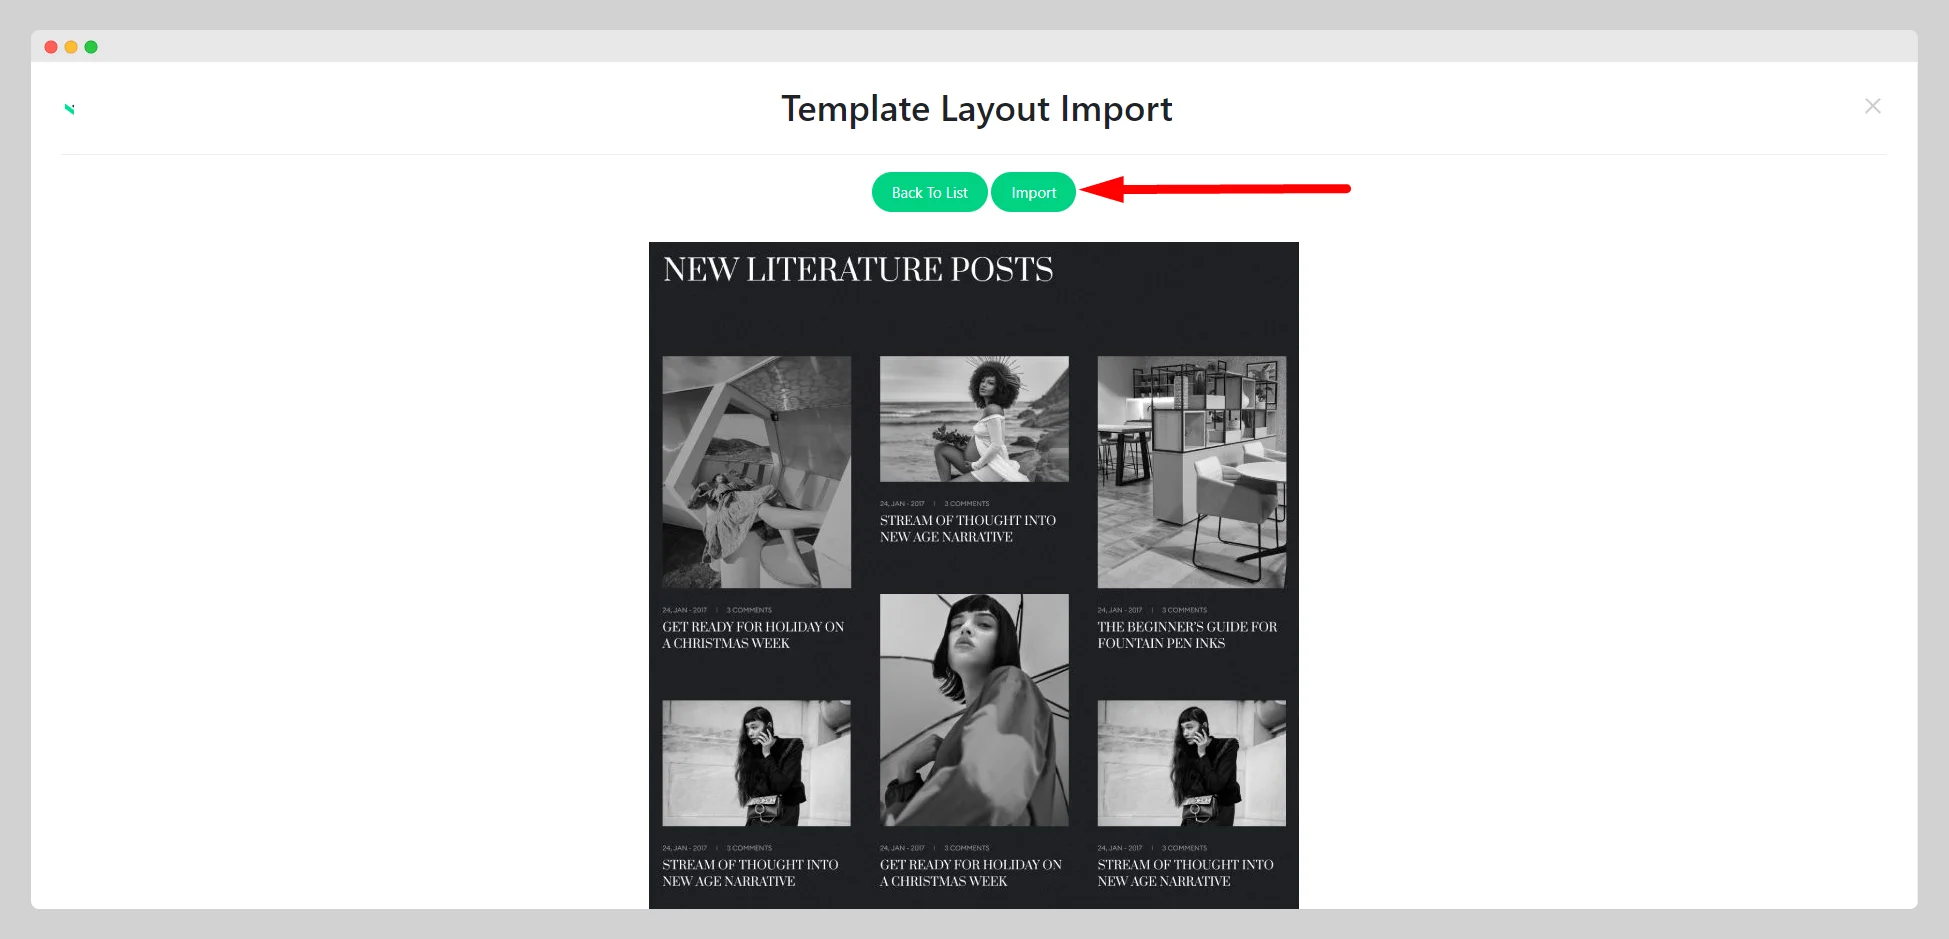
Choose a particular blog template layout from the countless options. Click the “Preview” button to experience the design. Then hit the “Insert” and “Import” buttons one by one. Wait for a while and press the “Activate” button to enable the template layout on your blog page.

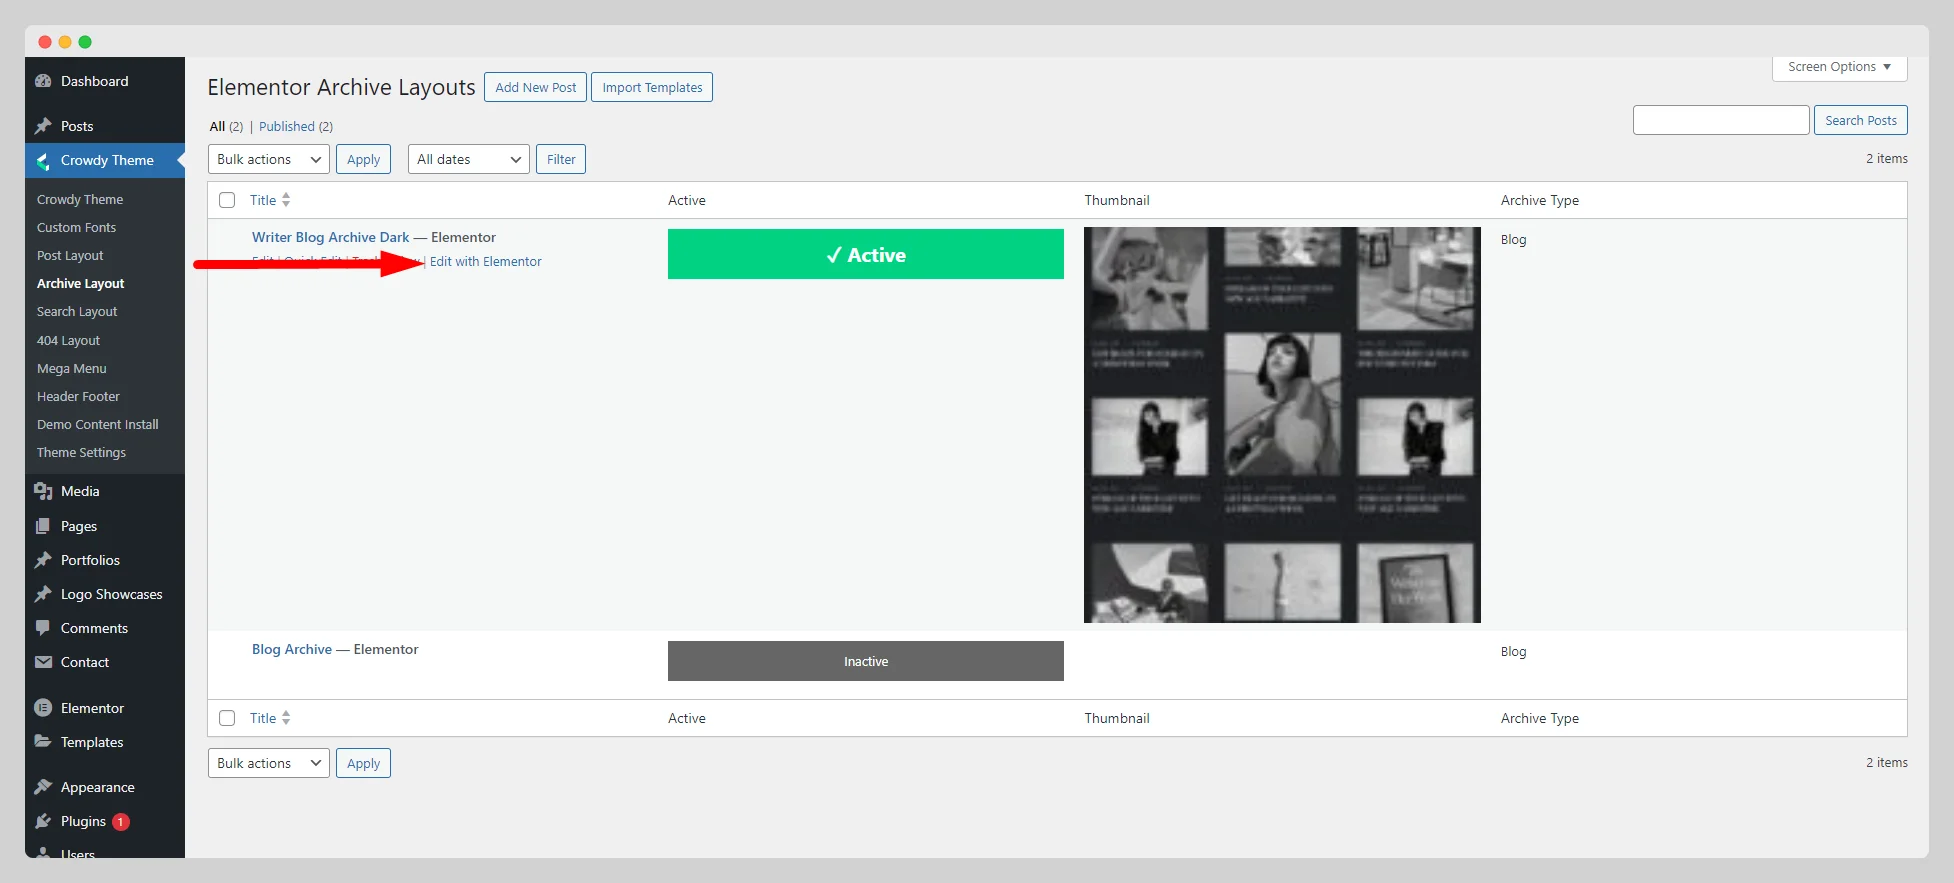
Step-6:
To customize the look and feel of the blog layout with Elementor, you can press the “Edit with Elementor” button below the name of your imported template layout.