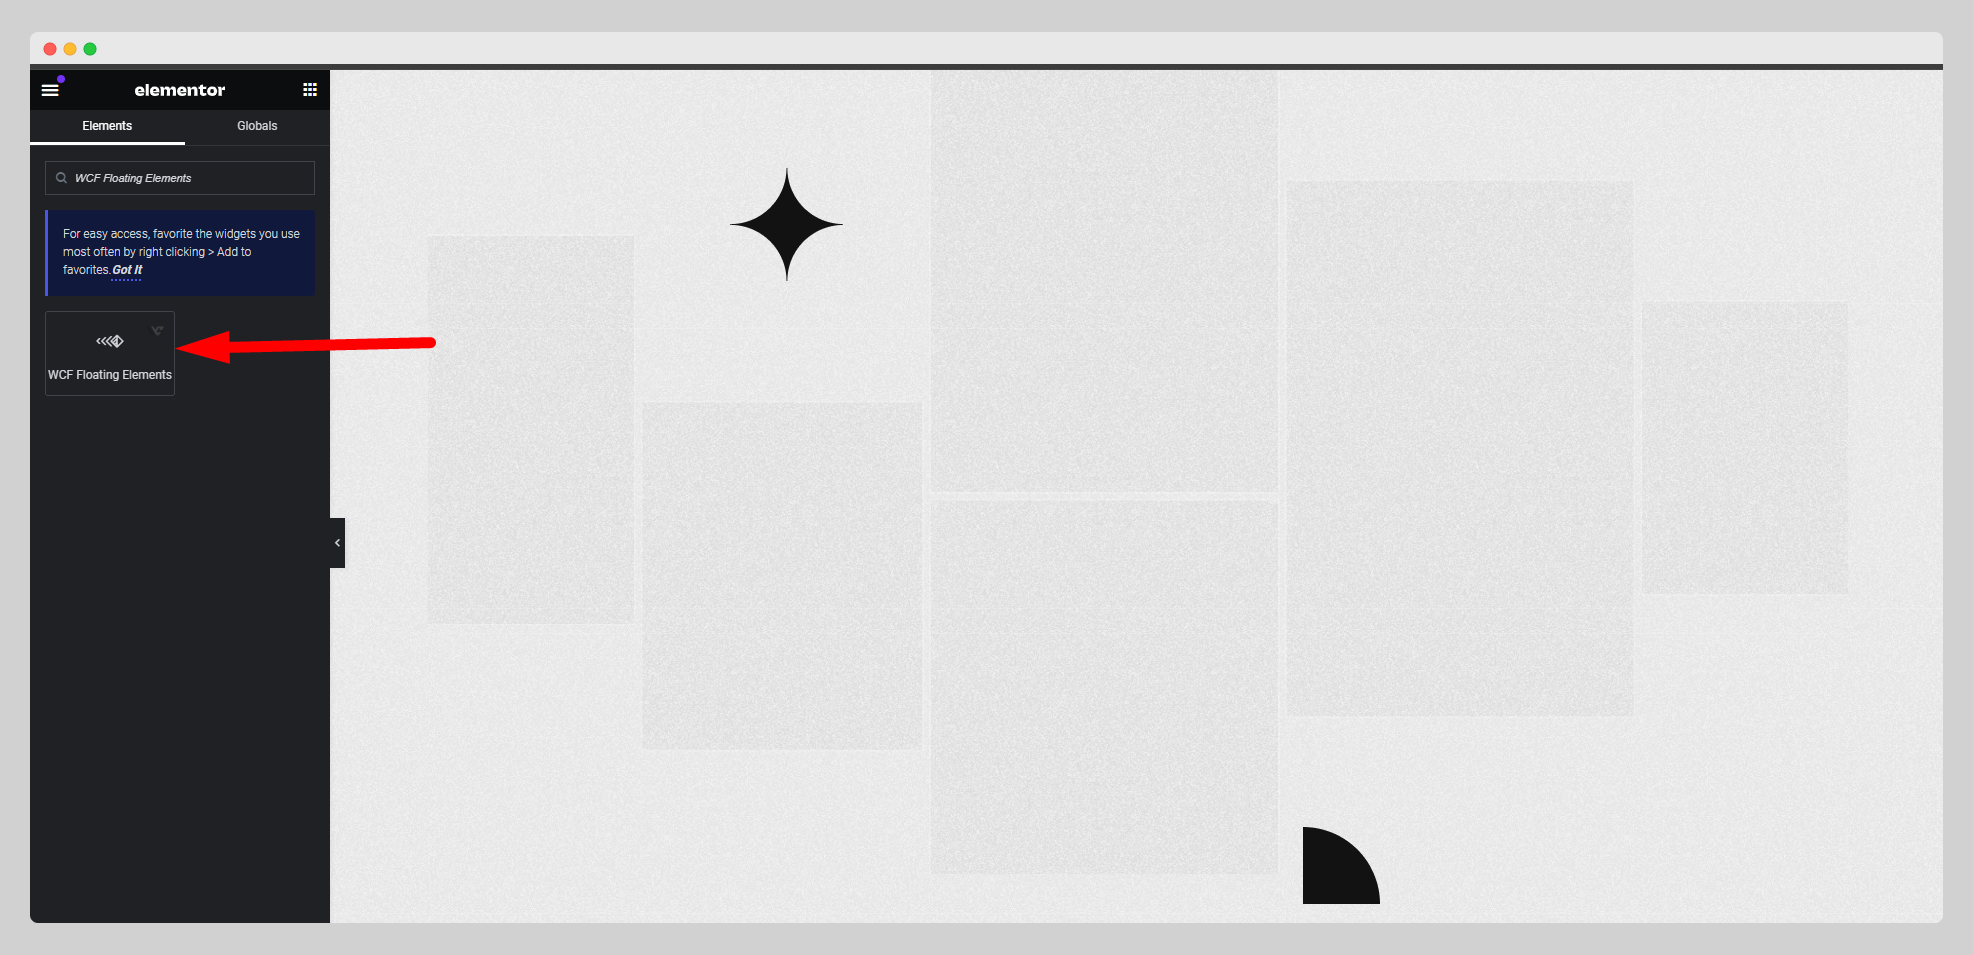
You can follow the step-by-step guidelines given below to learn how to use the WCF Floating Elements widget:
Step-1:
From the Elementor panel, drag the “WCF Floating Elements ” widget to a container on your page.

Step-2:
Under the “WCF Floating Elements” option, click on the “Add Item” button.

Step-3:
Choose an image for the floating element and adjust the size. Select an animation for the element from the drop-down list located next to the “Live Animation” option. Set the offset and z-index.

Step-4:
Enable/Disable the “Enable Scroll Smoother”, “Hide On Widescreen”, “Hide On Desktop”, “Hide On Laptop”, “Hide On Tablet Landscape”, “Hide On Tablet Portrait”, “Hide On Mobile Landscape”, and “Hide On Mobile Portrait” buttons.
