Below are the steps on how to use the WCF Header widget:
Step-1:
From the Elementor panel, drag the “WCF Header” widget to a container on your page.

Step -2:
From the “Settings” option under “Content” section, select a preset layout. Choose either “Default” or “Absolute” header type from the “Header Type” option.

Step-3:
Set the hamburger icon with a priest icon and sticky header bar image. Attach a bar image if you keep the “Custom Icon” button enabled. Then click on the “Logo” option to import the pre-designed main header logo and sticky header logo.

Step-4:
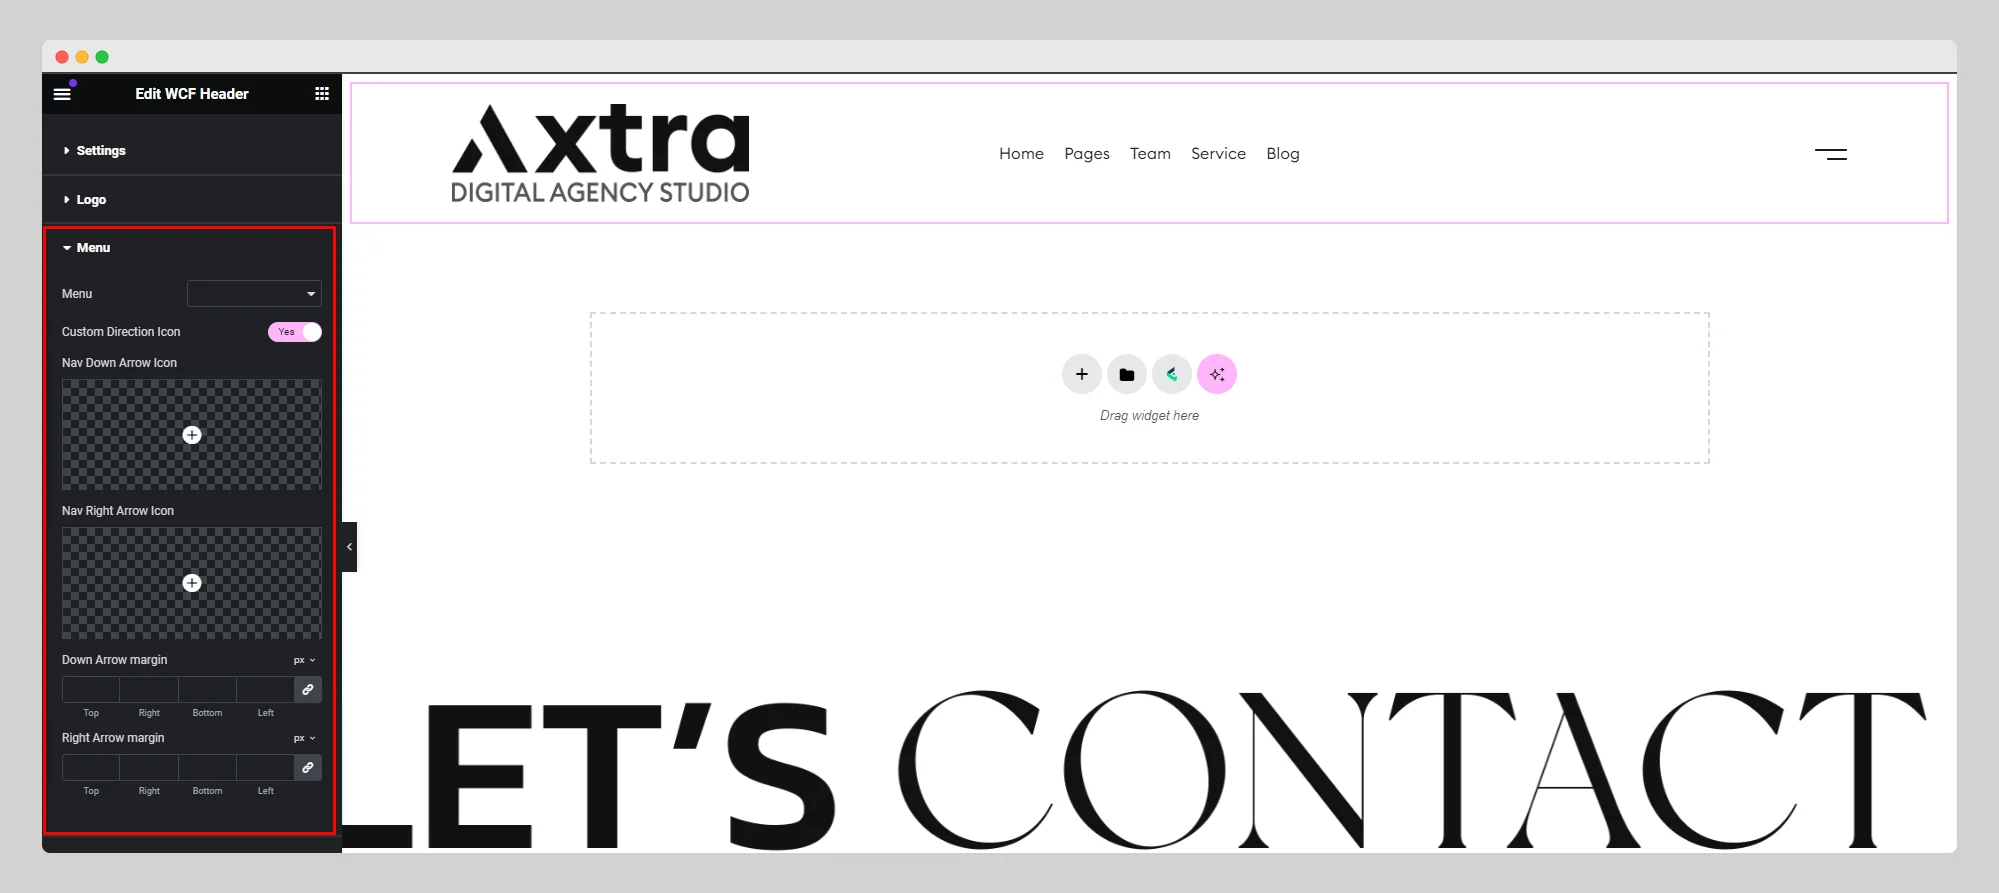
From the “Menu” option, select a pre-built menu and enable the “Custom Direction Icon” button by adjusting the arrow icons and margins.
Step-5:
Add necessary items with specific types of actions from the “More Actions” option. Set up the language from the “Language” option and adjust the offcanvas settings from the “Offcanvas Settings” option.

Step-6:
From the “Style” section, set up the style of Layout, Logo, Offcanvas, Mobile Menu, Dropdown Container, Link, Menu Arrow Icon, and so on.
