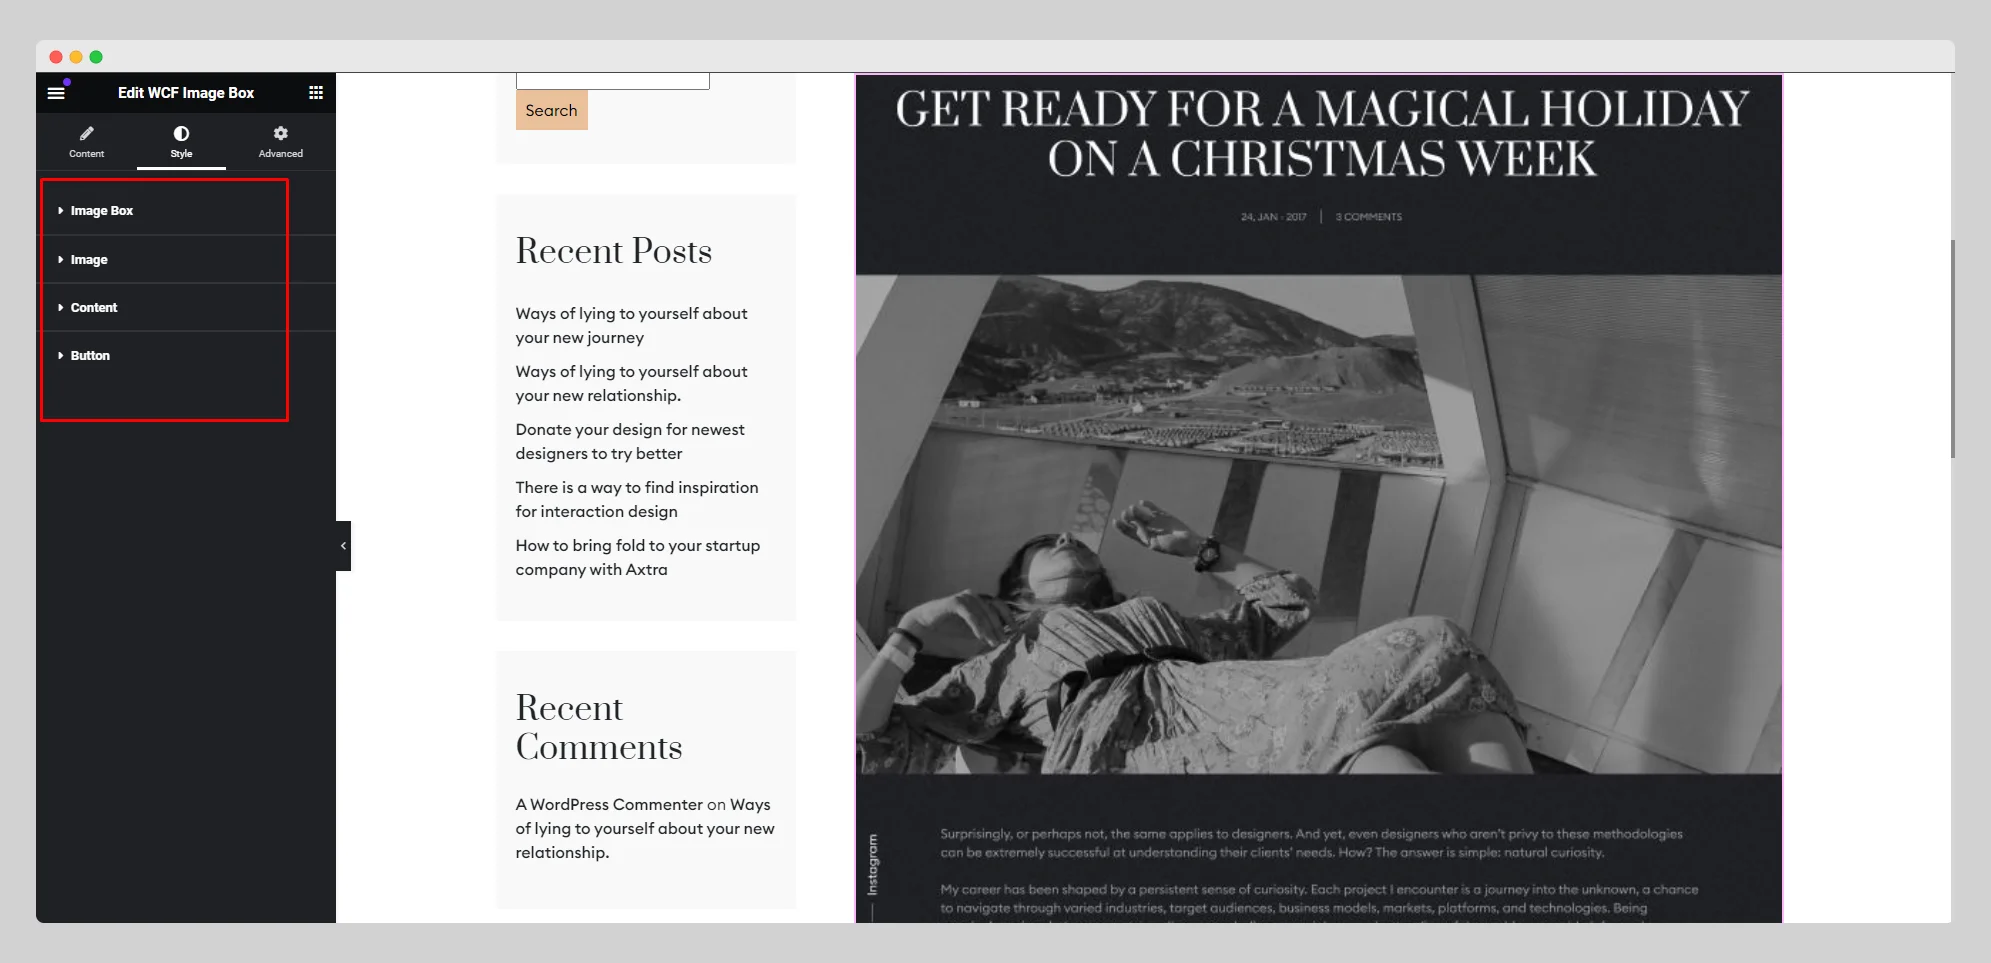
Below are the steps on how to use the WCF Image Box widget:
Step-1:
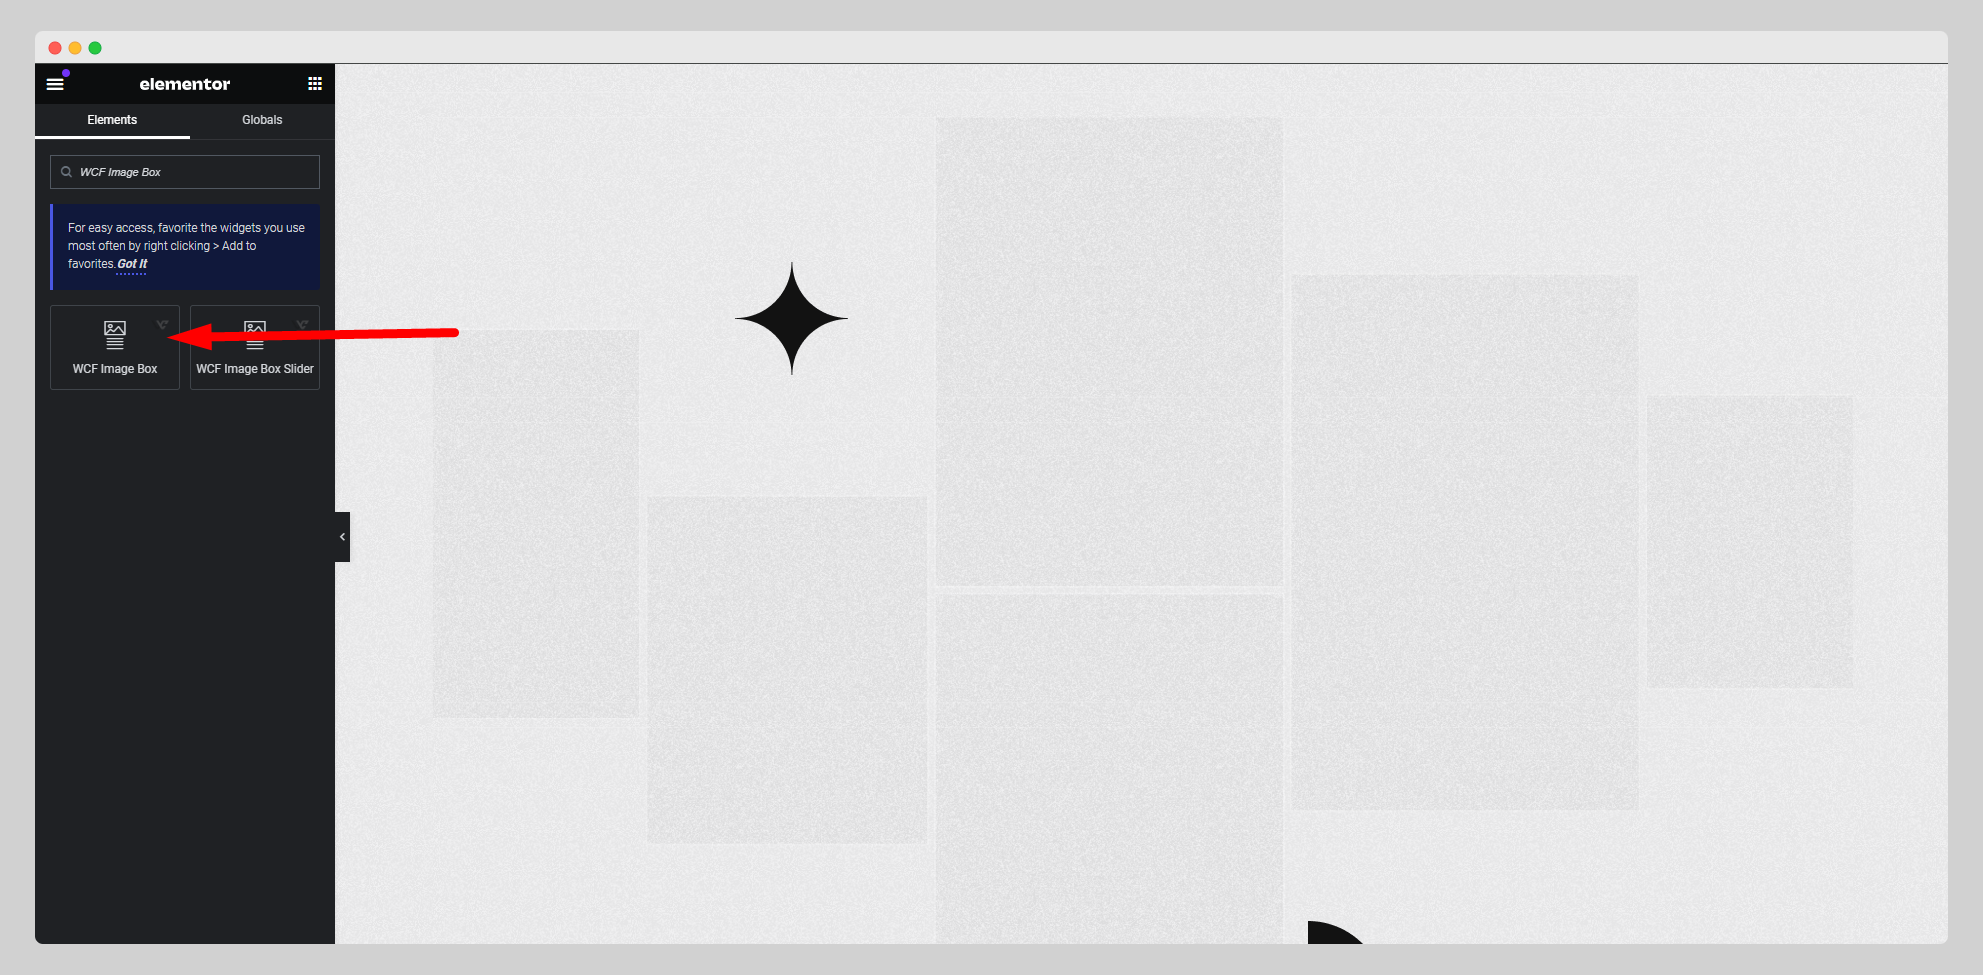
From the Elementor panel, drag the “WCF Image Box” widget to a container on your page.
Step-2:
Navigate to the “Layout” option and set the layout.

Step-3:
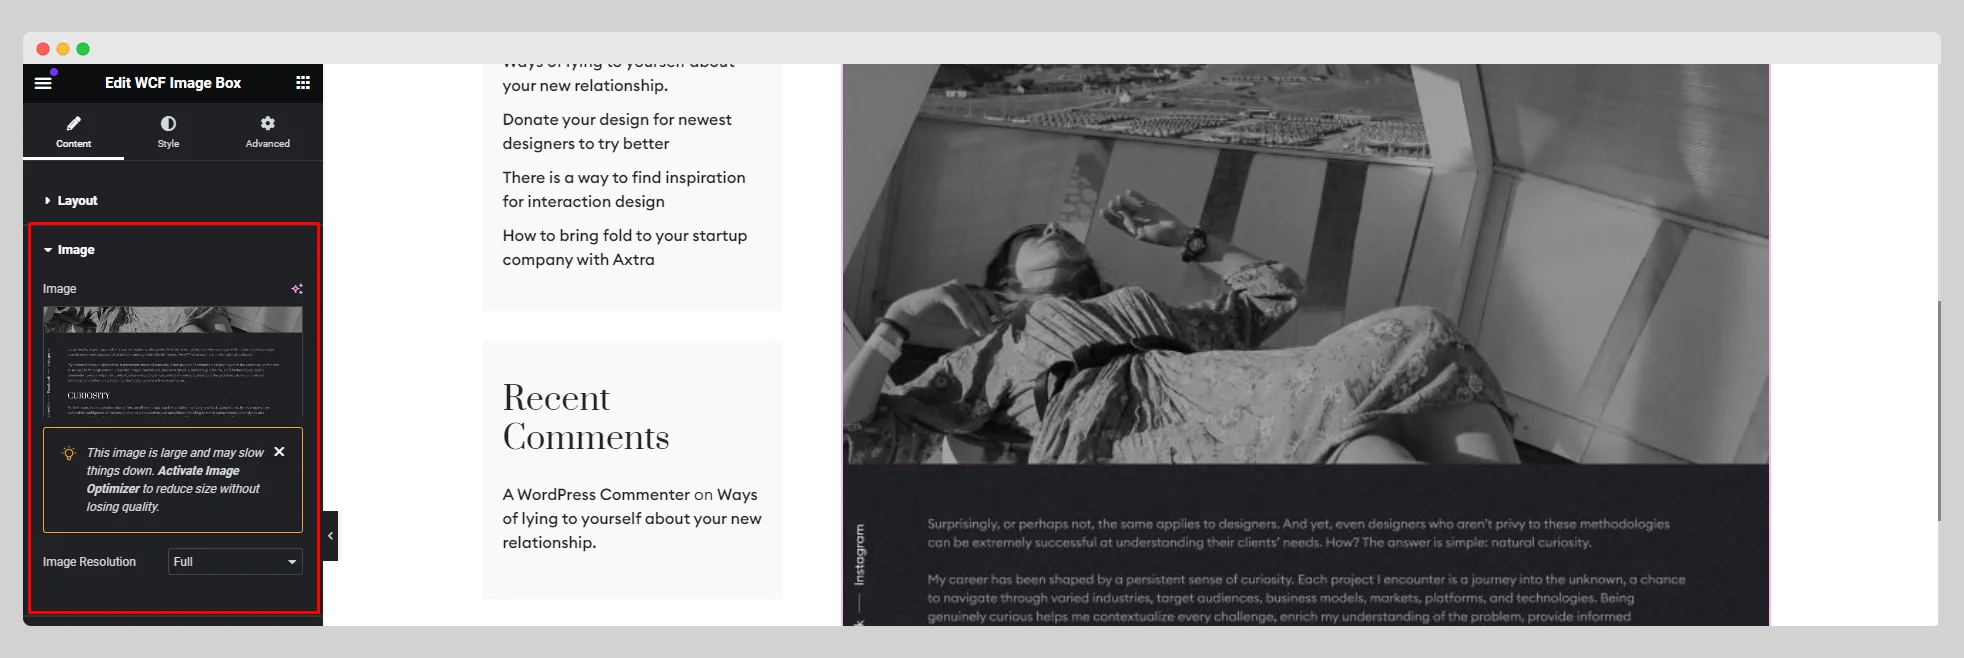
Next move to the “Image” option and attach an image by specifying resolution.
Step-4:
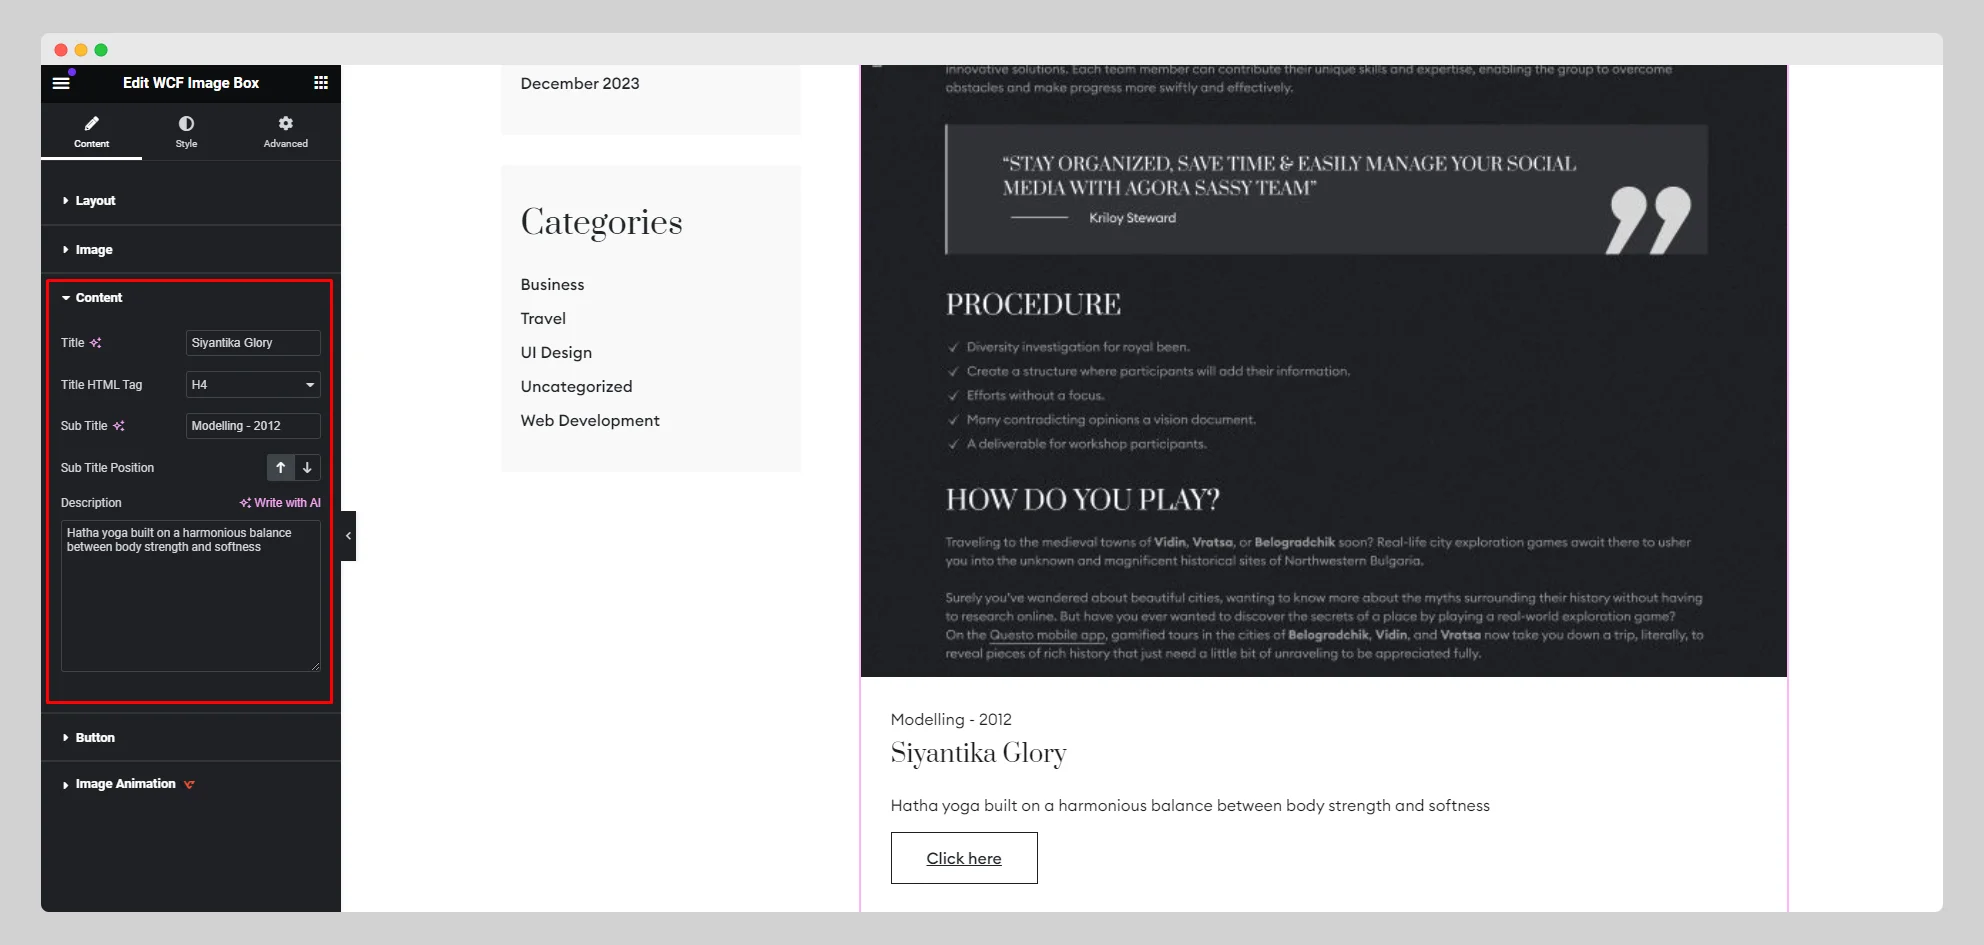
On the “Content” option, write the title, sub-title, and description. Also adjust the title tag and sub-title position.
Step-5:
Setup the button from the “Button” option. Under the “Image Animation” option, animate the image box by choosing “Reveal” from the drop-down list.
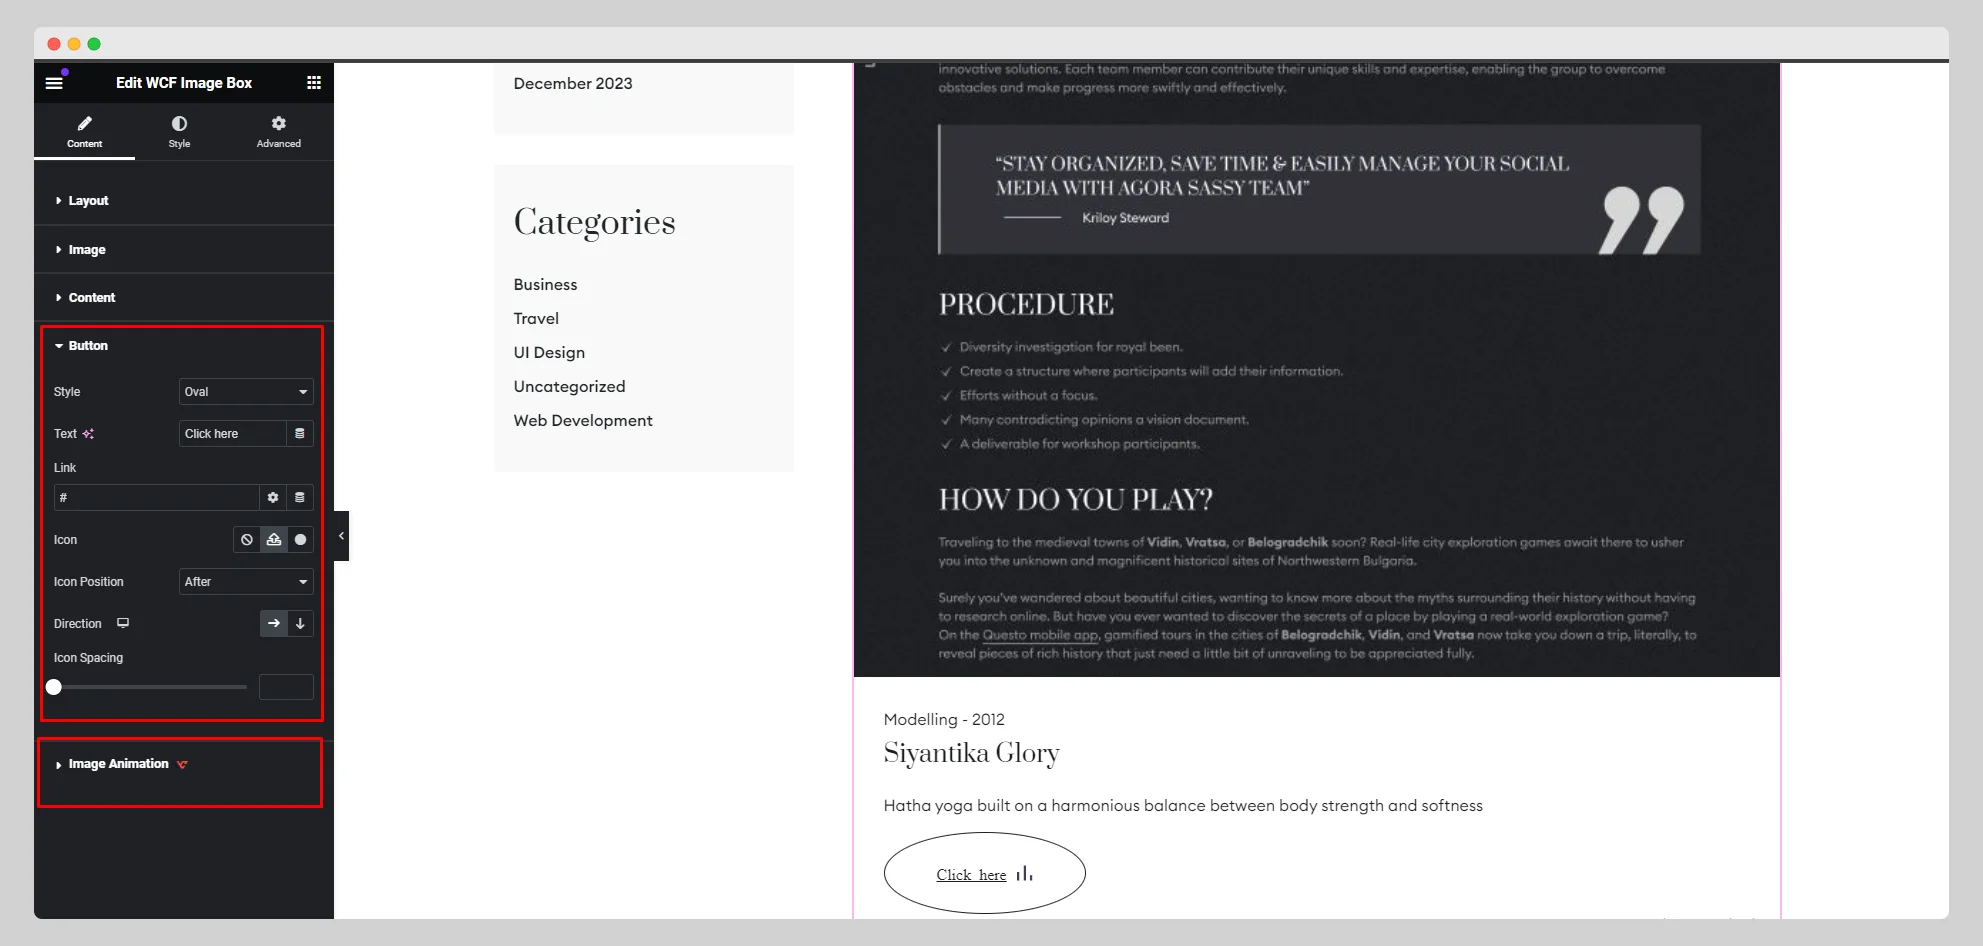
Step-6:
Then move to the “Style” section and adjust the additional style for “Image Box”, “Image”, “Content”, and “Button”.
