You can follow the below documentation to get an insight into how you can use the WCF Image Box Slider widget:
Step-1:
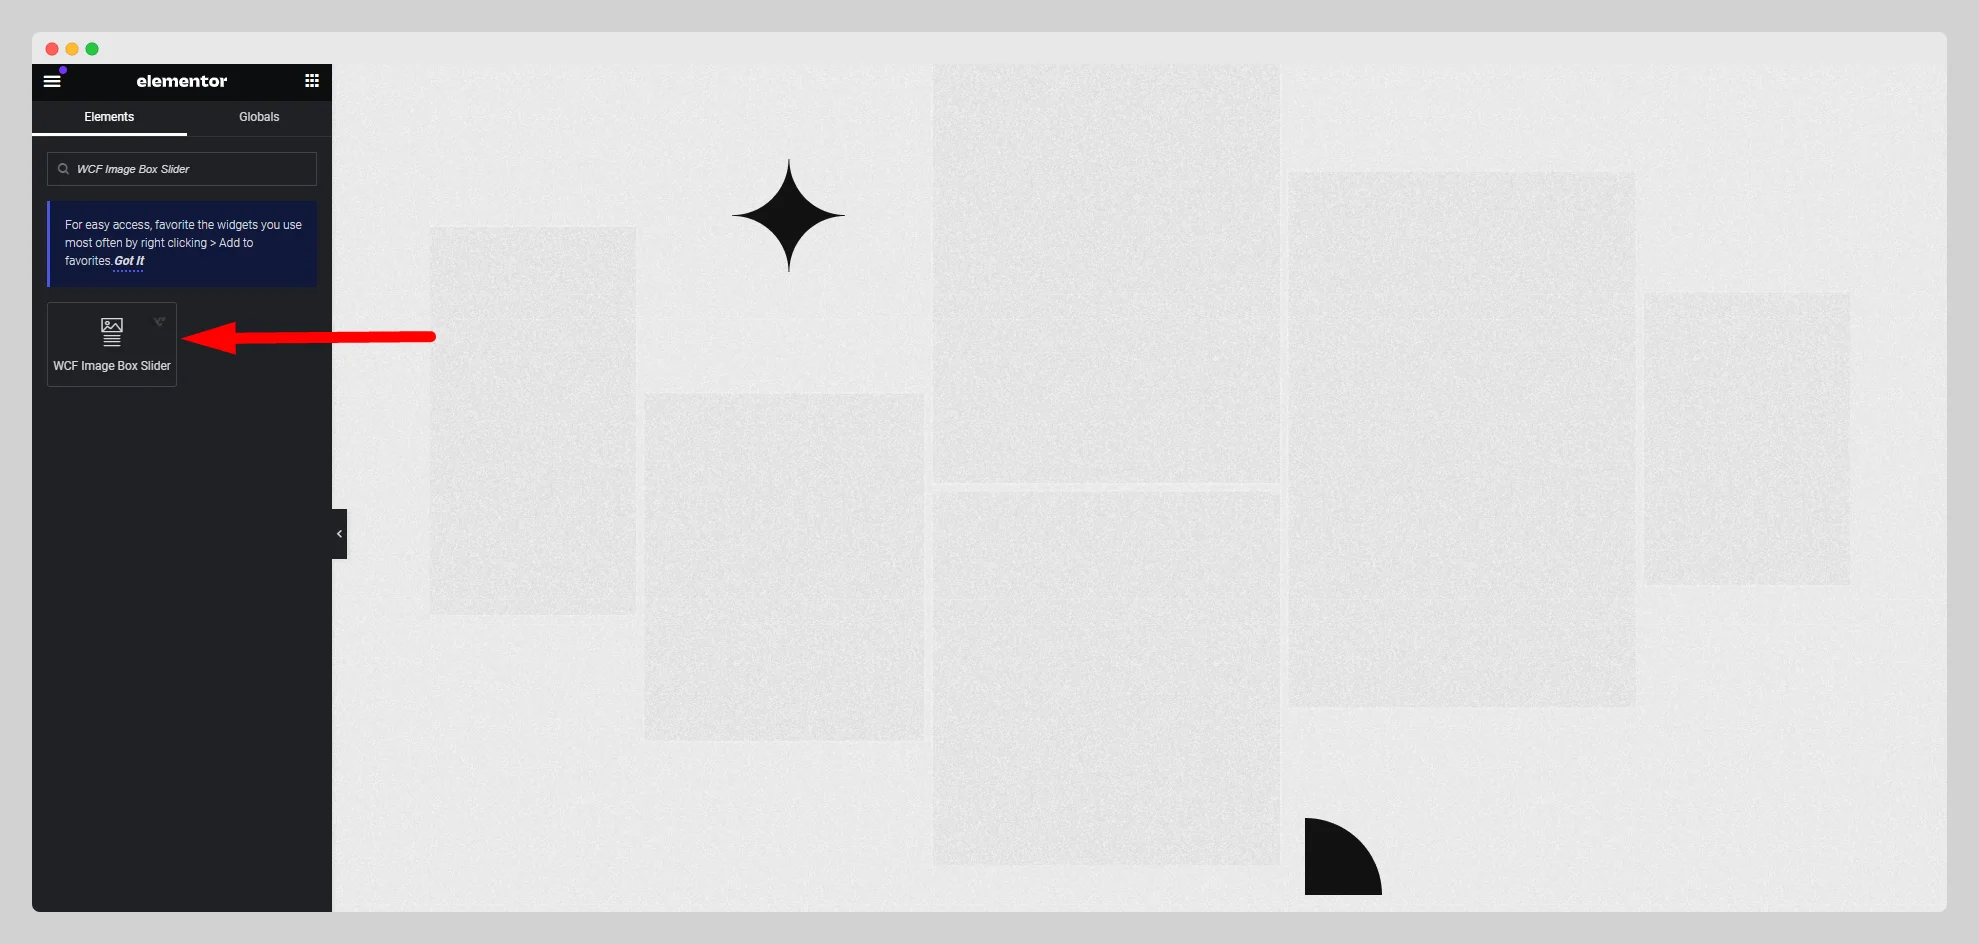
From the Elementor panel, drag the “WCF Image Box Slider” widget to a container on your page.
Step-2:
Under the “Layout” option, choose a layout style first. Then click on the “Add Item” button under the “Image Box Slider” option.

Step-3:
Attach an image under the “Image” option. Add title, HTML tag, subtitle, and description. Insert a link and adjust the subtitle position.

Step-4:
Choose a specific image resolution and link type from the drop-down lists. Adjust the alignment, direction, icon, and gap.

Step-5:
From the “Slider Options,” set up the autoplay, loop, animation speed, autoplay delay, autoplay interaction, icons, navigation, pagination, and many more requisite parameters.

Step-6:
Under the “Style” section, customize the style for “Image Box,” “Image,” “Content,” “Slider Navigation,” and “Slider Pagination.”.
