You can take a look at the following steps to create a beautiful image gallery for your webpage with the WCF Image Gallery widget:
Step-1:
From the Elementor panel, drag the “WCF Image Gallery” widget to a container on your page.

Step-2:
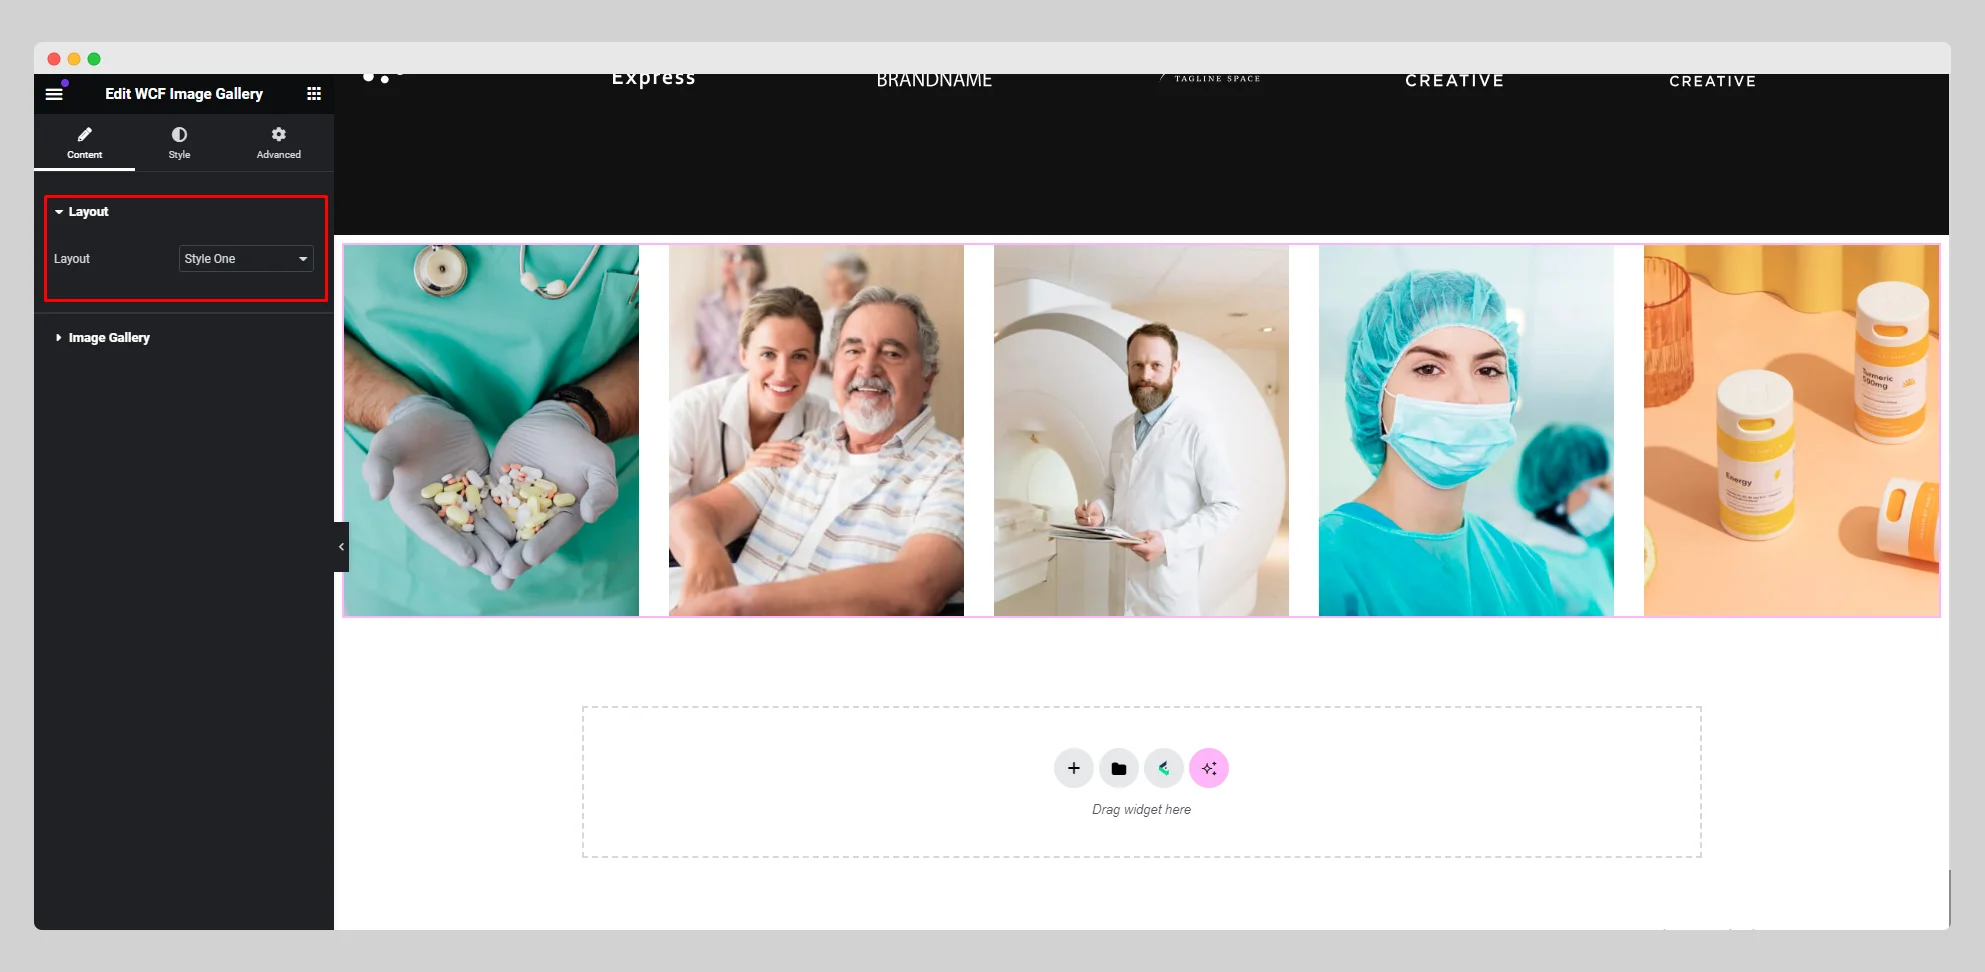
Choose a layout from the drop-down list located next to the “Layout” option.
Step-3:
Move to the “Image Gallery” option and click on the “Add Item” button to insert as many images as you want into the gallery.

Step-4:
For each item, choose an image from the “Choose Image” option and attach a link under the “Link” option. Next to the “Image Resolution” option, choose a particular resolution for the image from the drop-down list.

Step-5:
Enable the “Show Icon” and “Scroll Smooth” buttons. Adjust the data speed and data lag for the image gallery.
