In this documentation, you can explore the steps of how to use the WCF Posts widget to show a wide collection of posts on your website perfectly:
Step-1:
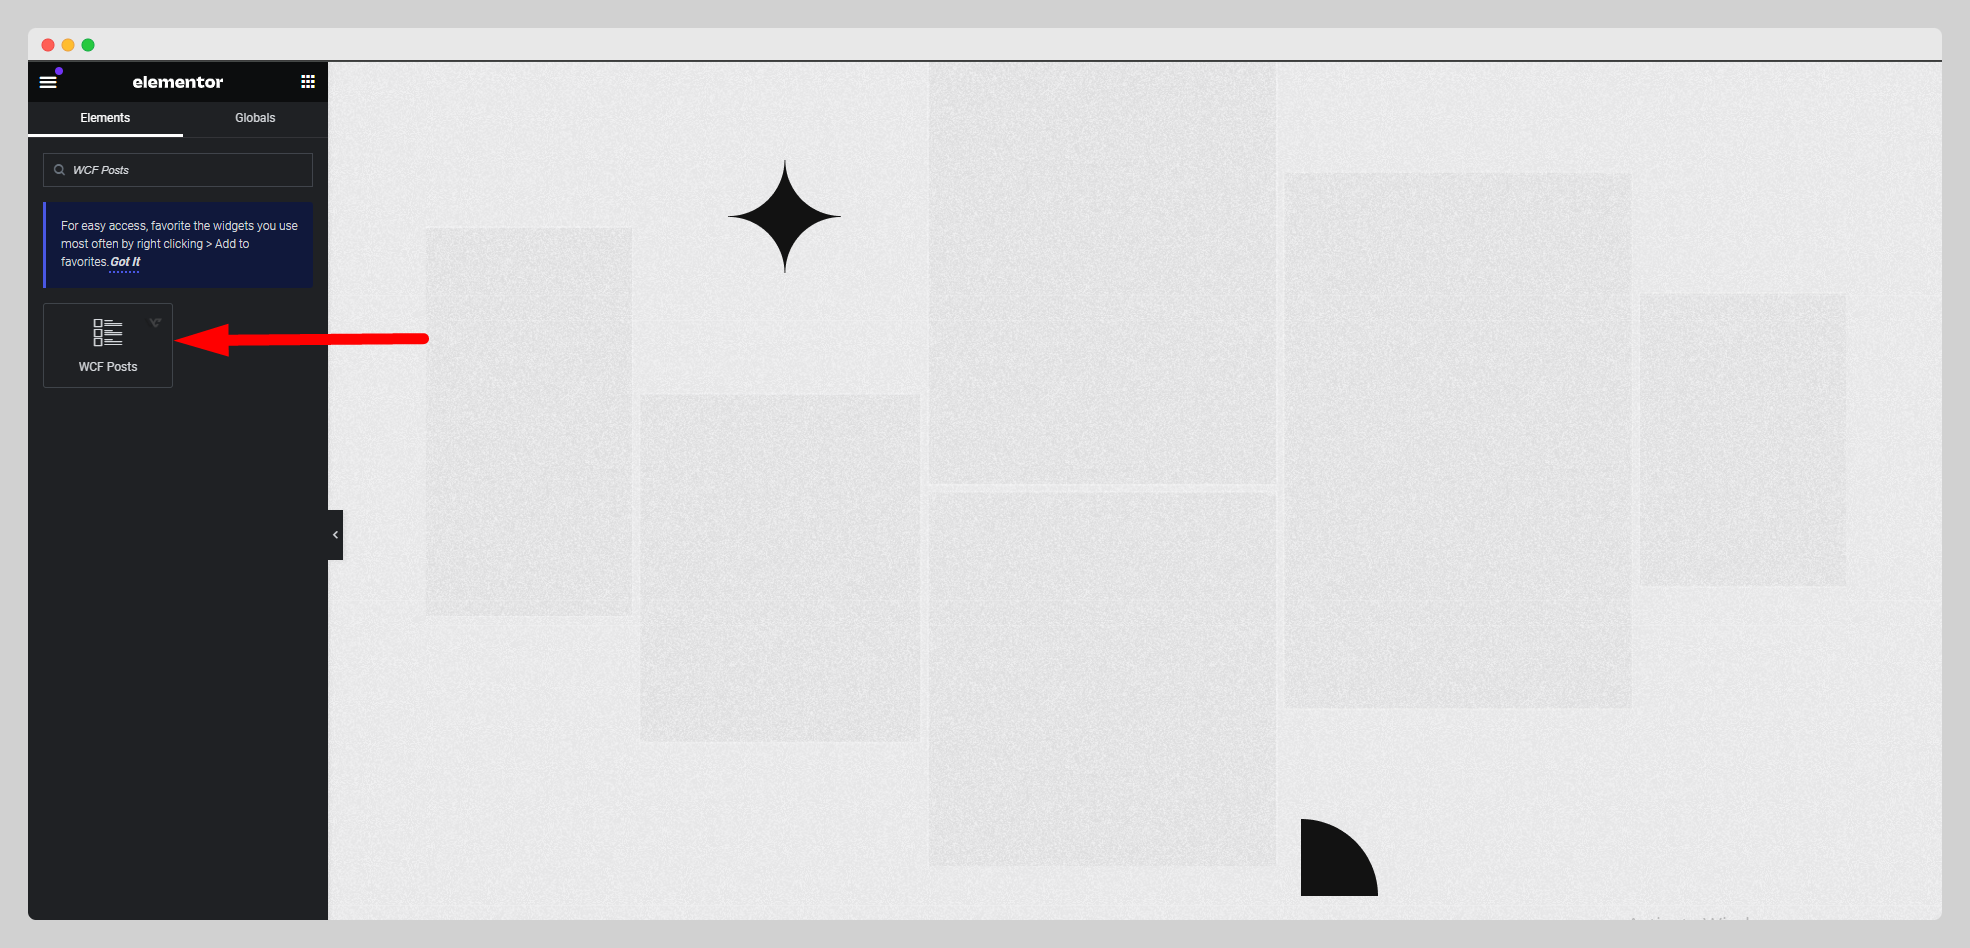
From the Elementor panel, drag the “WCF Posts” widget to a container on your page.
Step-2:
Under the “Layout” section, first choose a particular style, set the number of columns, set the posts per page, and choose a specific image resolution.

Step-3:
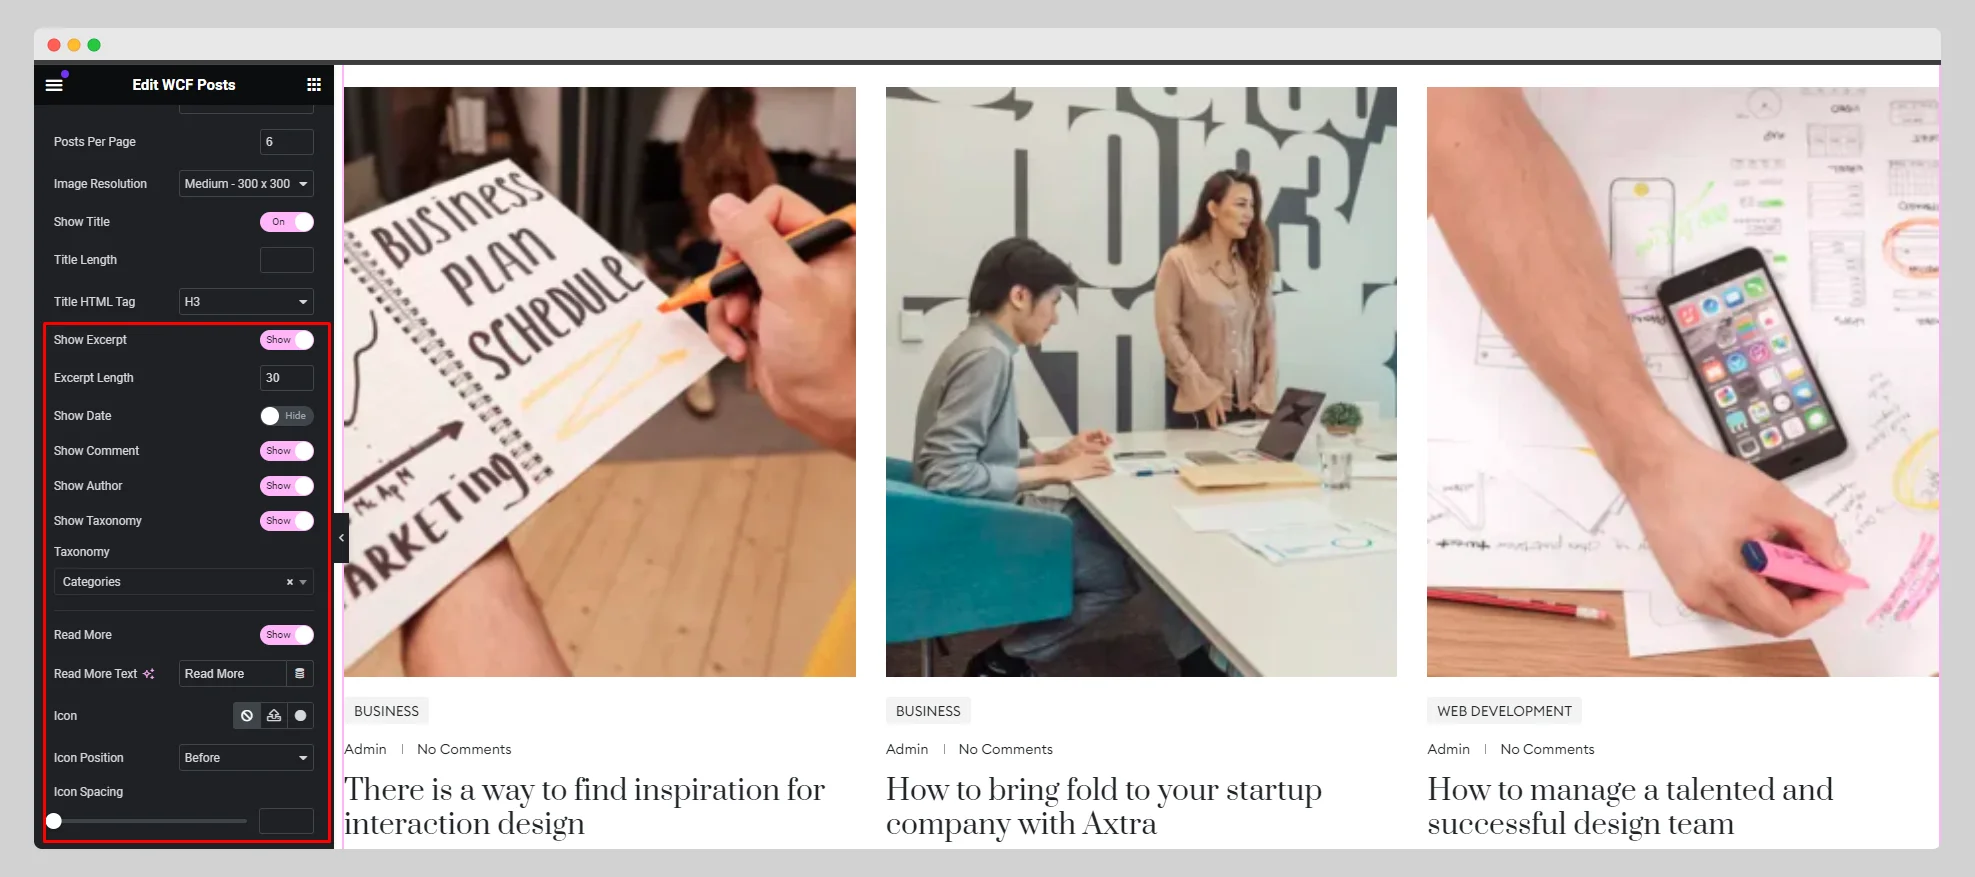
Enable or disable the “Show Title”, “Show Excerpt”, “Show Date”, “Show Comment”, “Show Author”, “Show Taxonomy”, and “Read More” buttons as per your requirements.
Step-4:
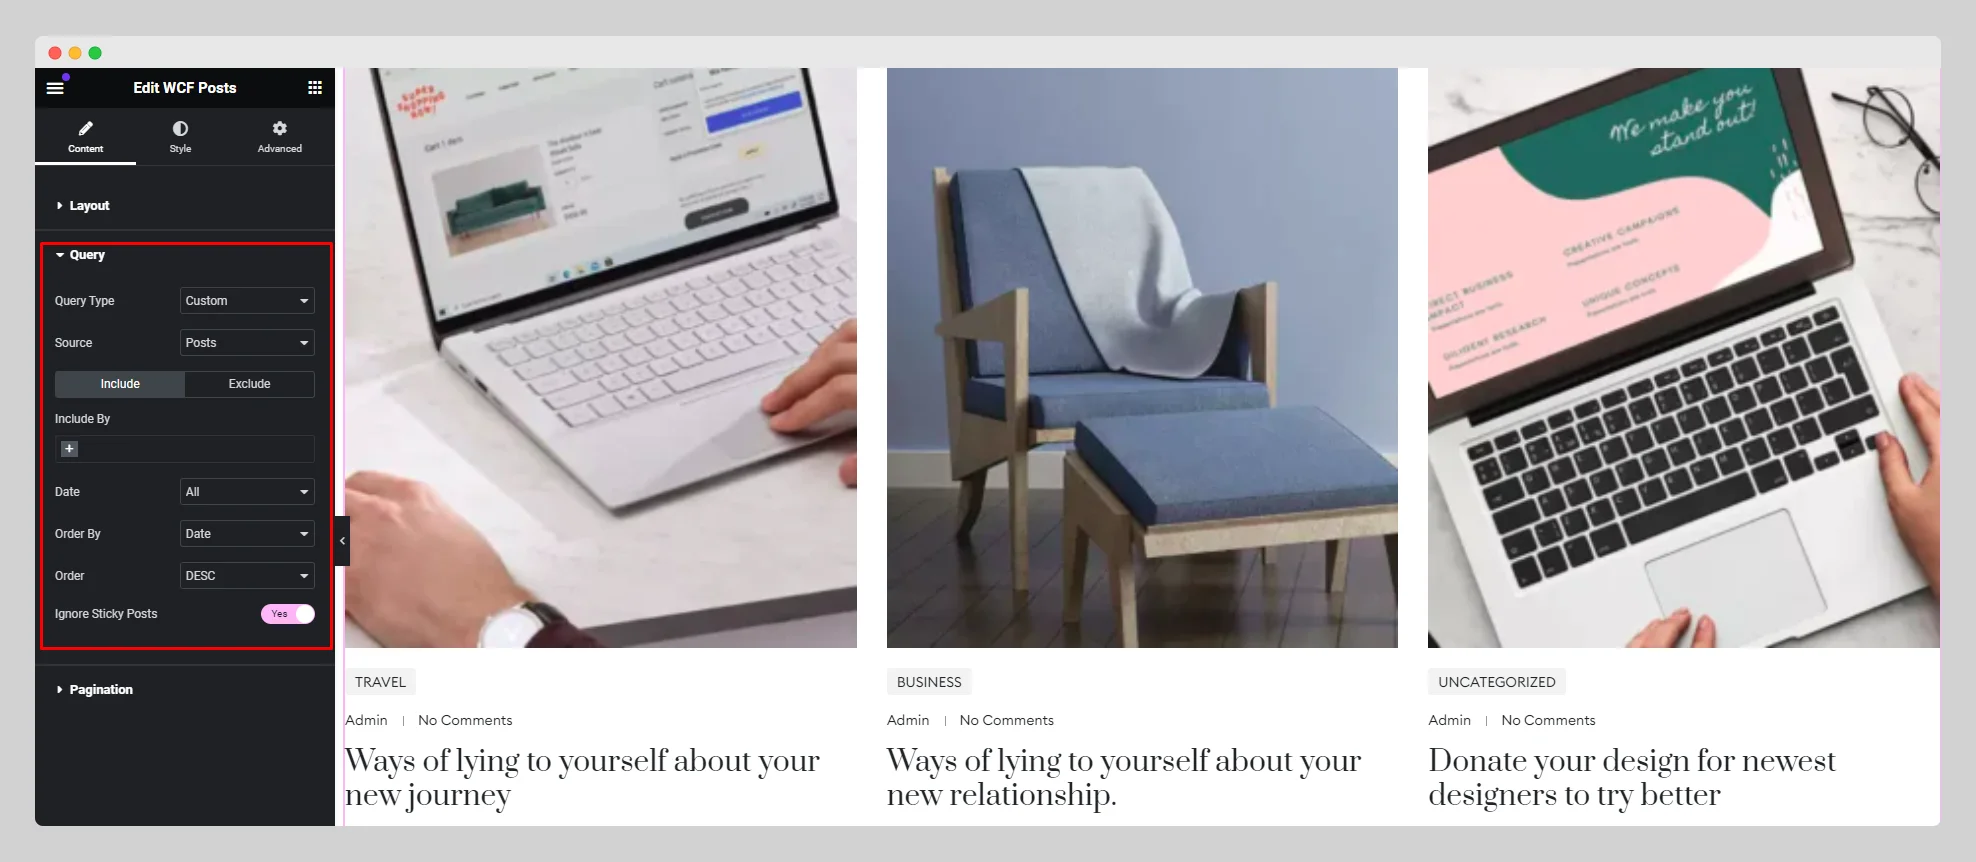
From the “Query” section, set the query type, source, date, order by, and order fields. Enable or disable the “Ignore Sticky Posts” button.
Step-5:
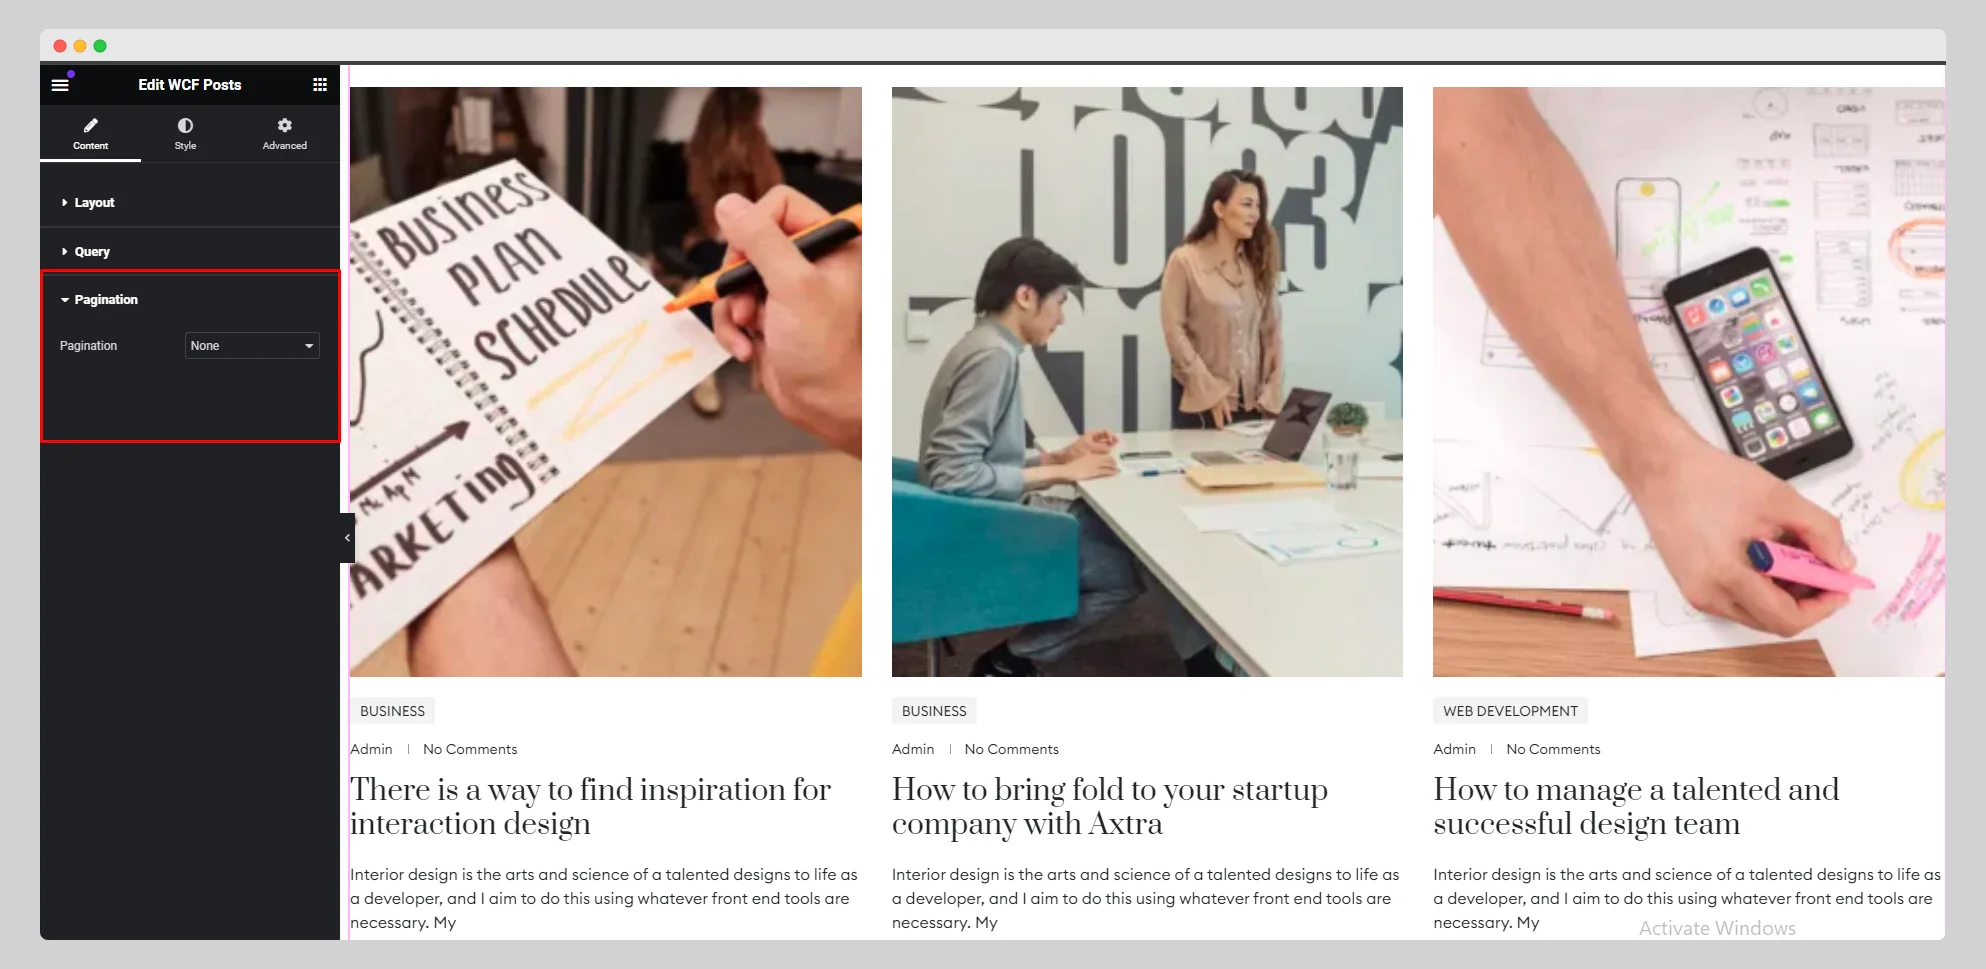
Choose a type of pagination from the drop-down list located next to the “Pagination” option.
Step-6:
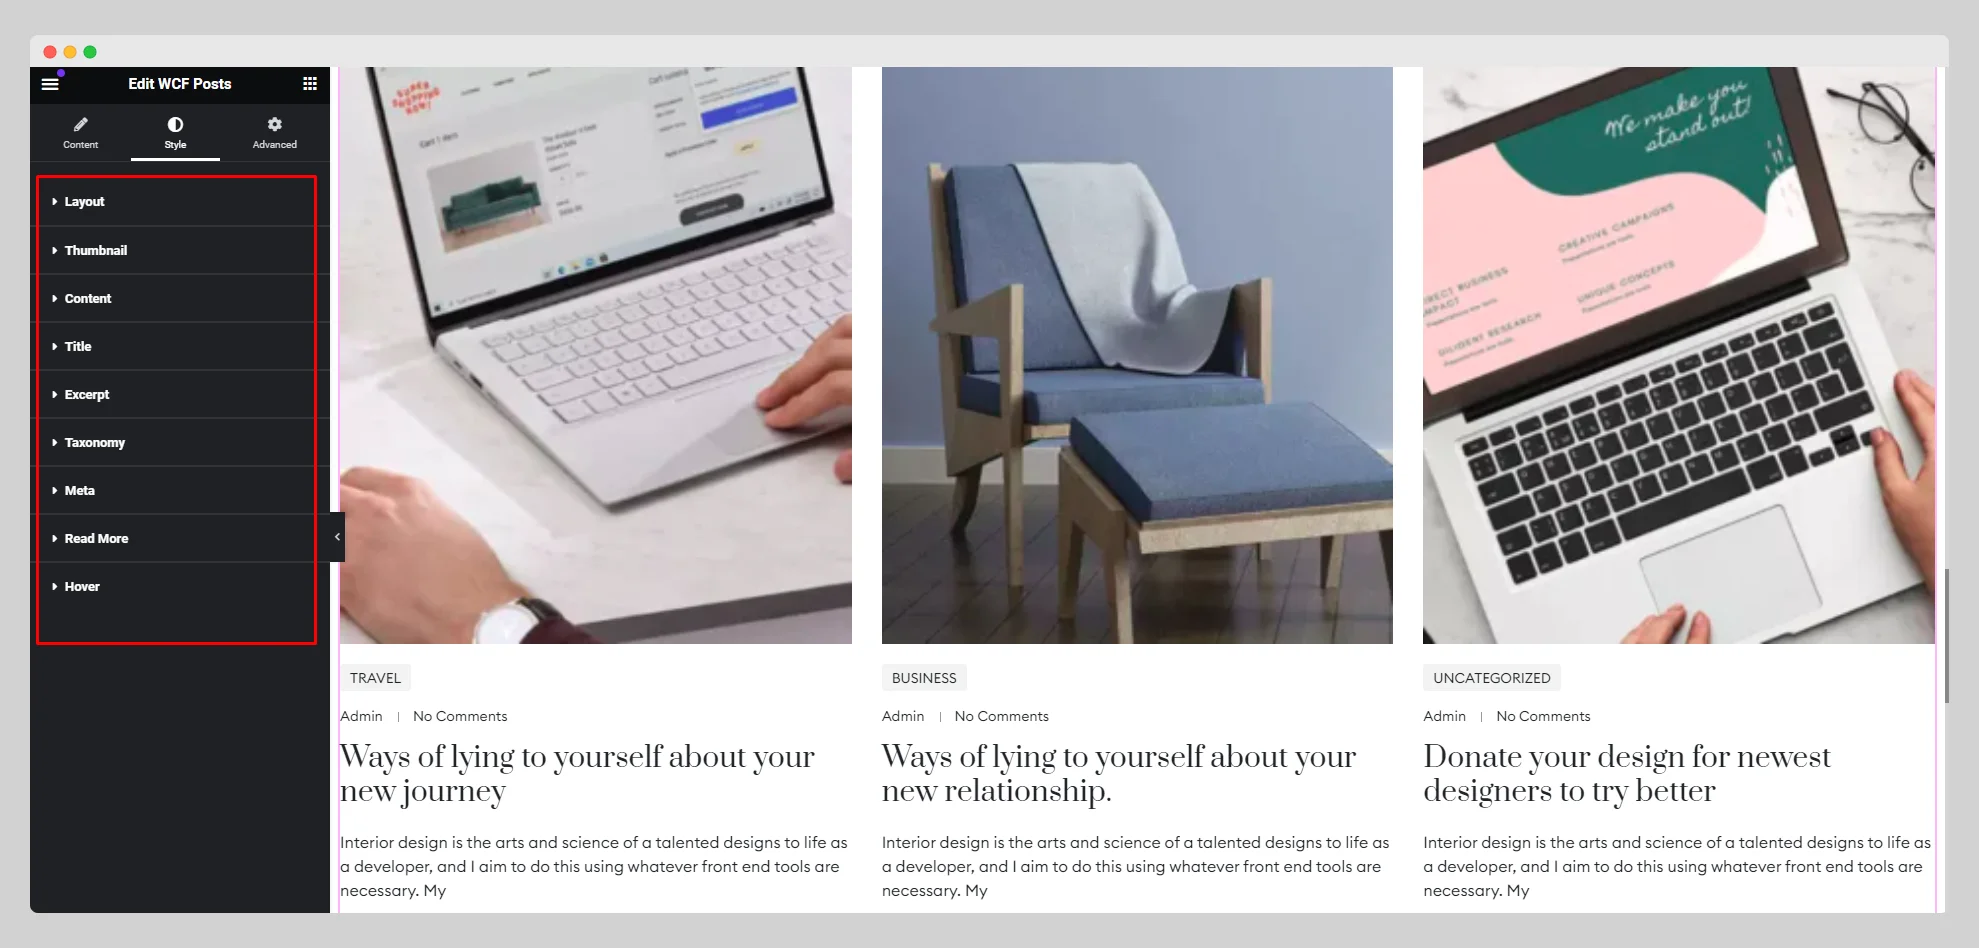
From the “Style” section, adjust the additional style for the “Layout,” “Thumbnail,” “Content,” “Title,” “Except,” “Taxonomy,” “Meta,” “Read More,” and “Hover.”.
