Take a look at the below documentation to use the WCF Side Header widget on your website in an organized way:
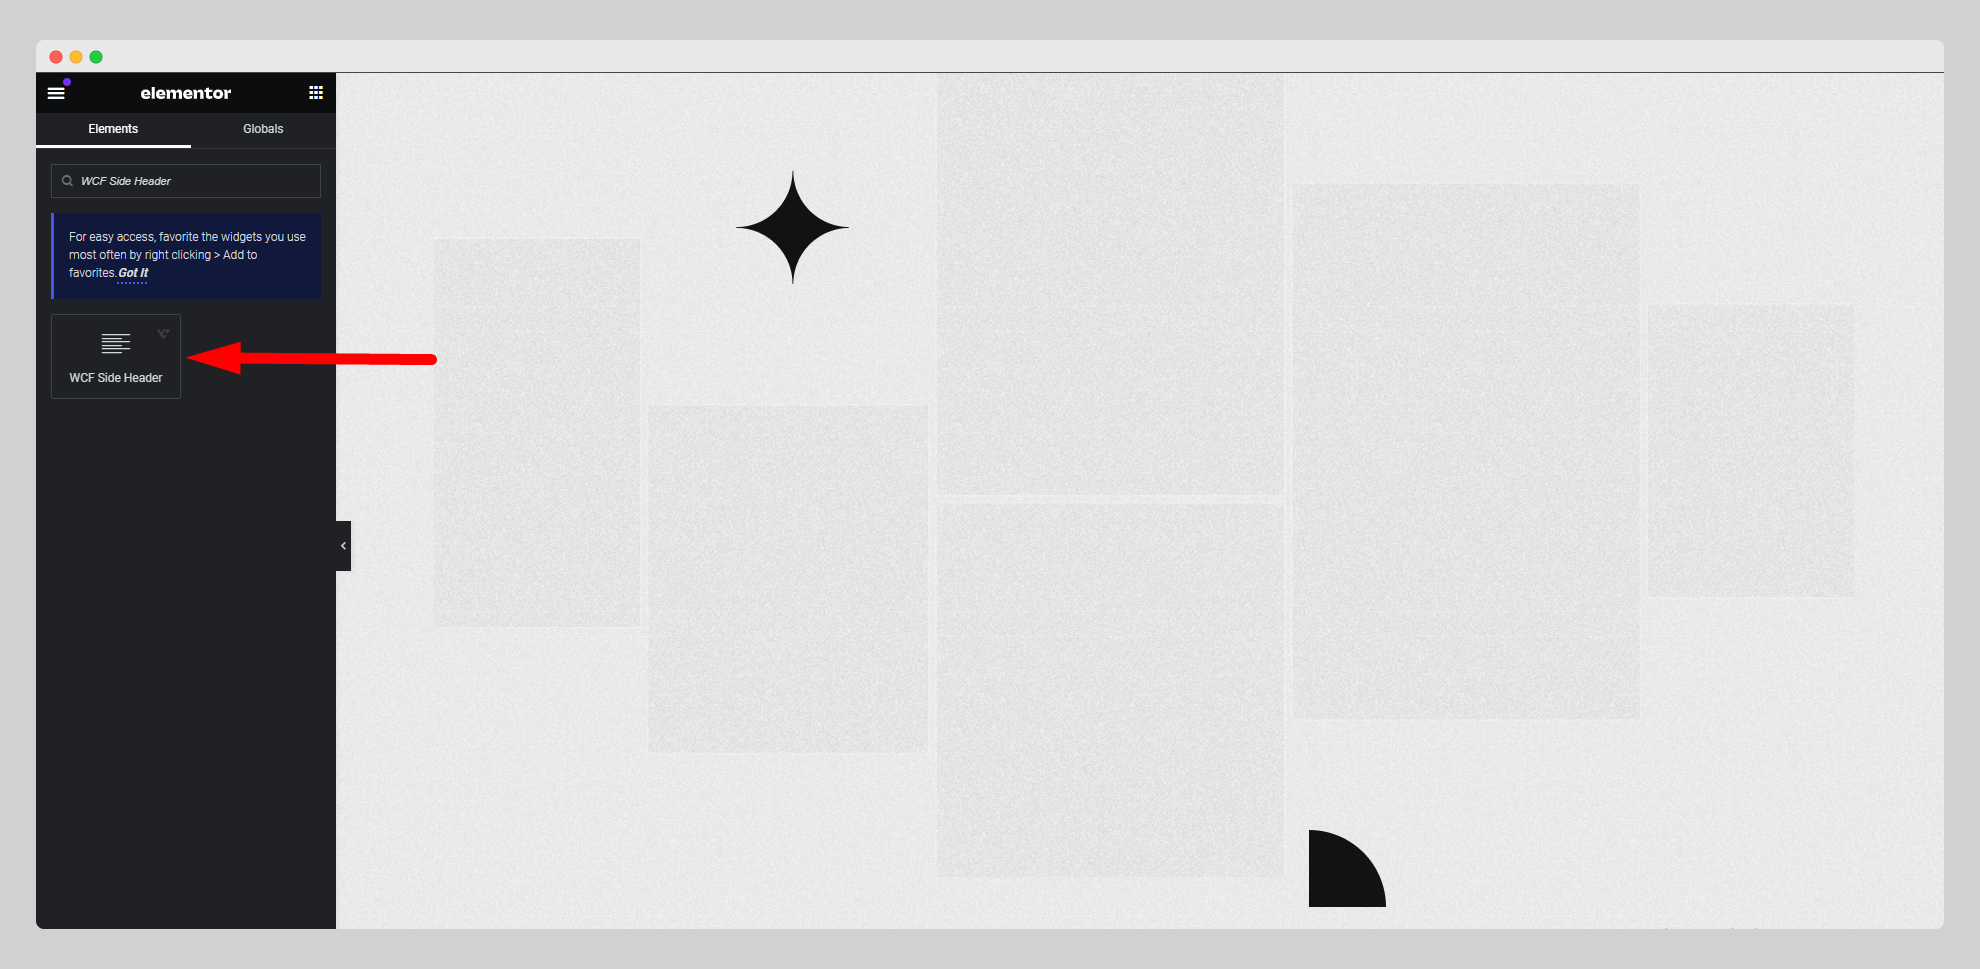
Step-1:
From the Elementor panel, drag the “WCF Side Header” widget to a container on your page.
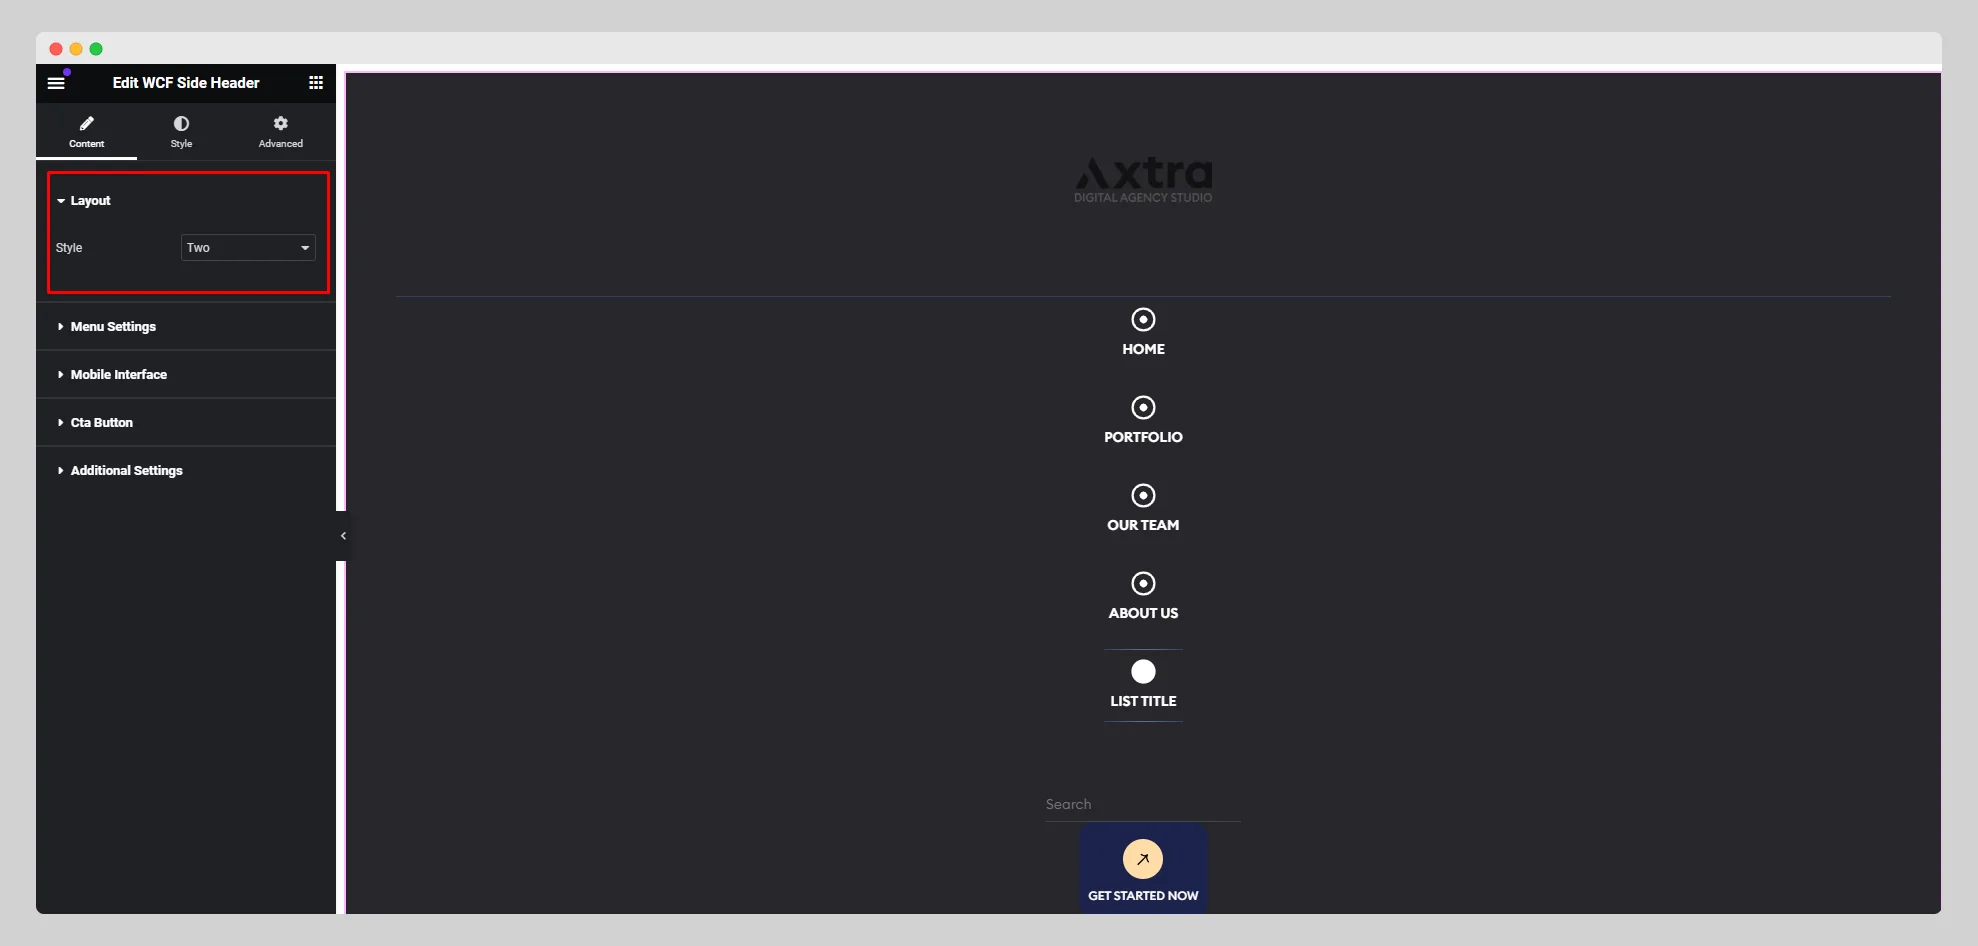
Step-2:
Choose a style from the drop-down list located next to the “Style” option.
Step-3:
Move to the “Menu Settings” section. Then upload a logo and adjust the image resolution. Click on the “Add Item” button to add a menu item to the list with a title, link, and icon.

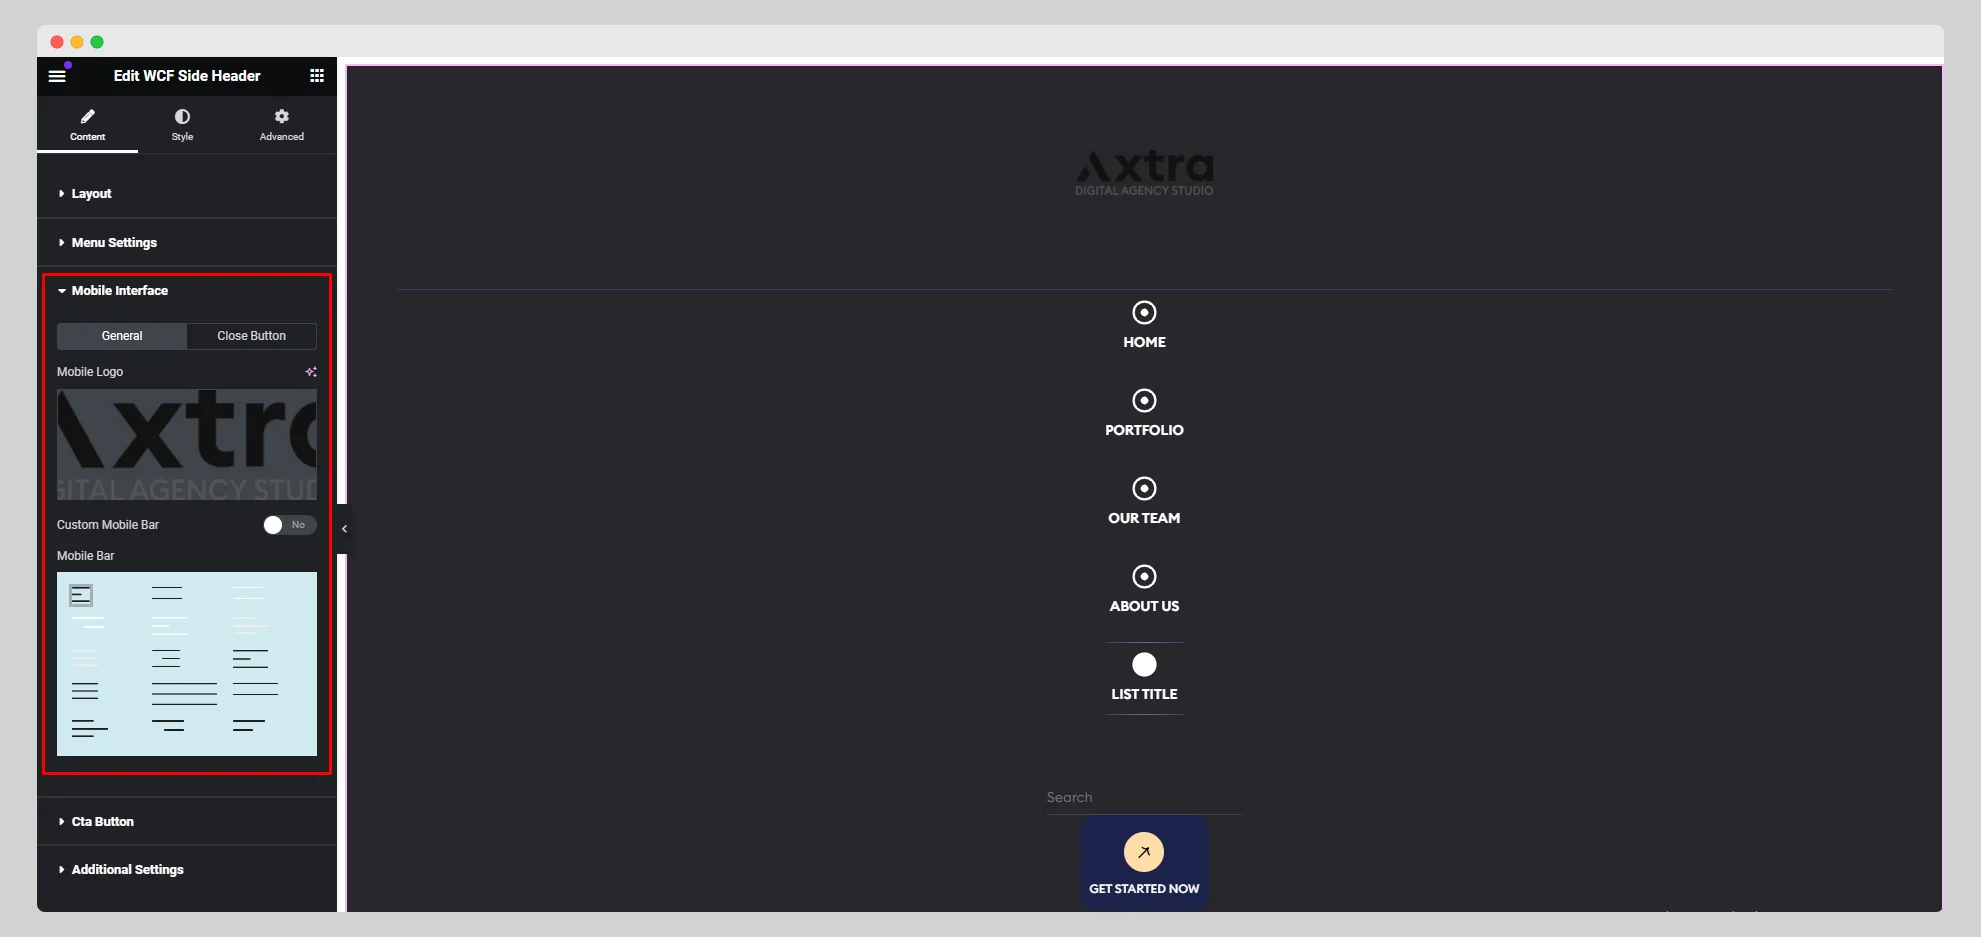
Step-4:
From the “Mobile Interface” section, toggle between “General” and “Close Button,” upload a mobile logo, and select a mobile bar. Enable the “Custom Mobile Bar” button if you wish.
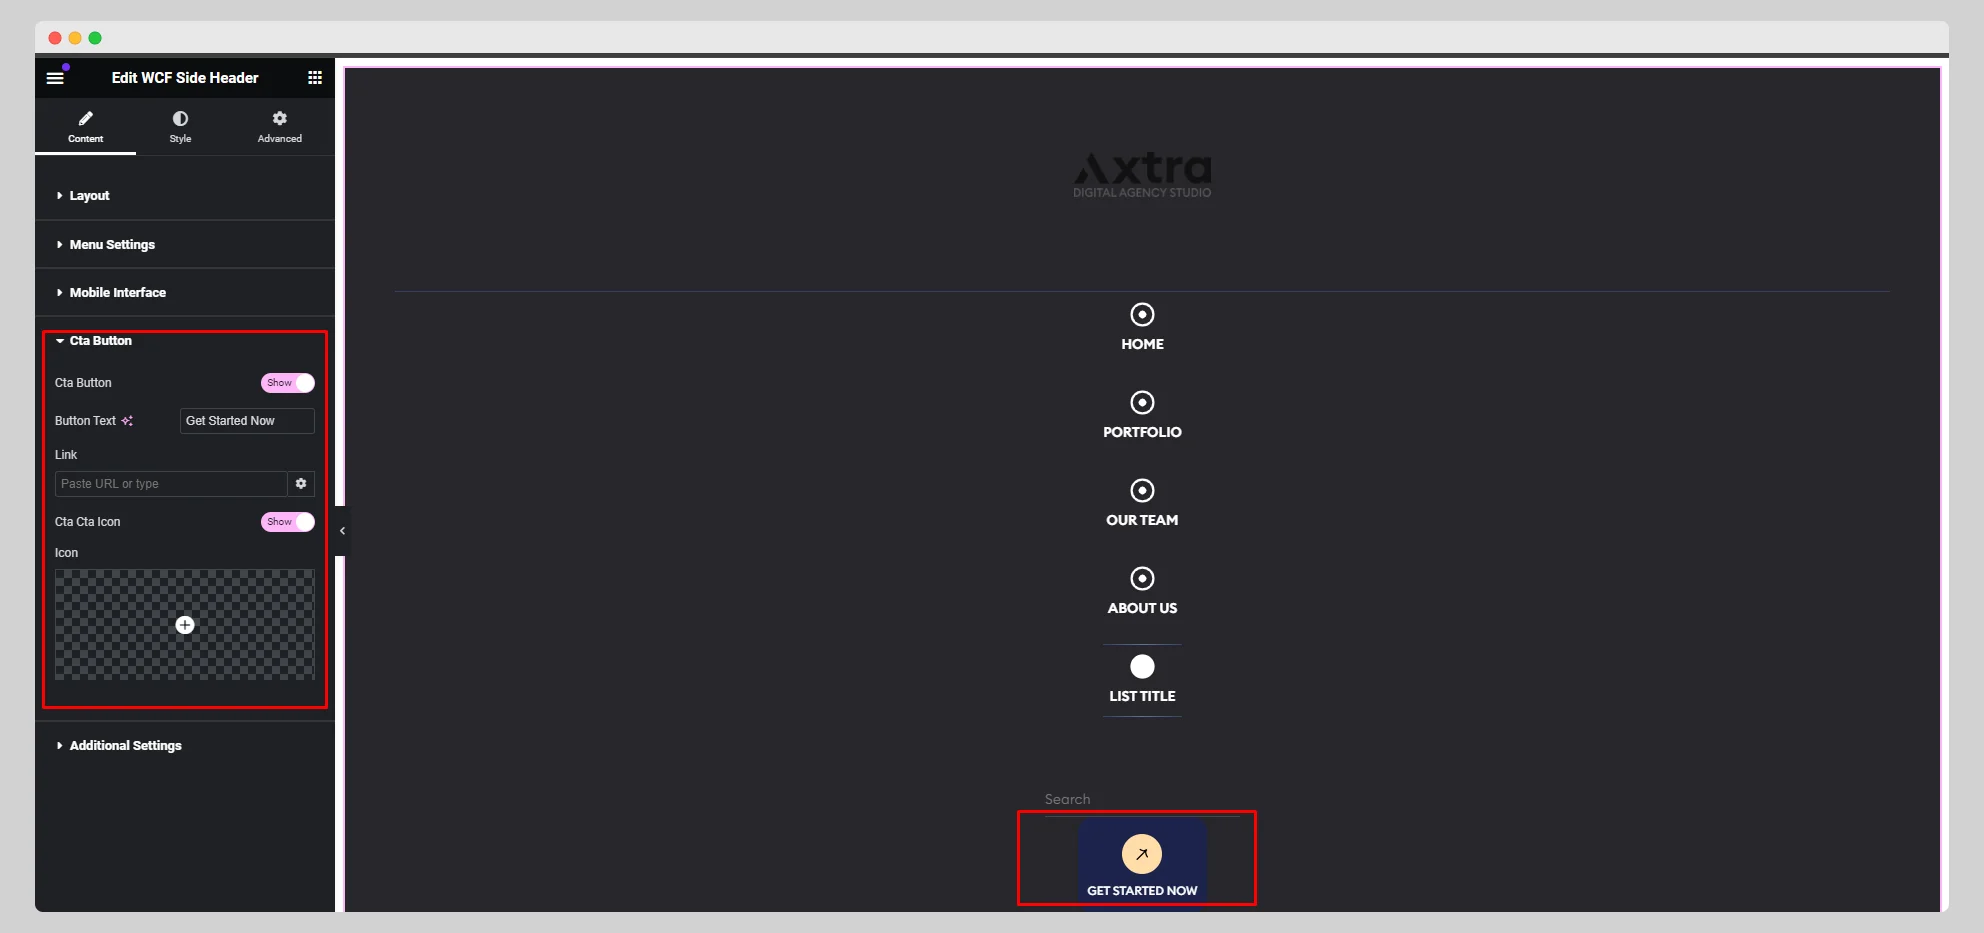
Step-5:
Enable the “Cta Button,” write the button text, attach the button link, and add a button icon from the “Cta Button” section.
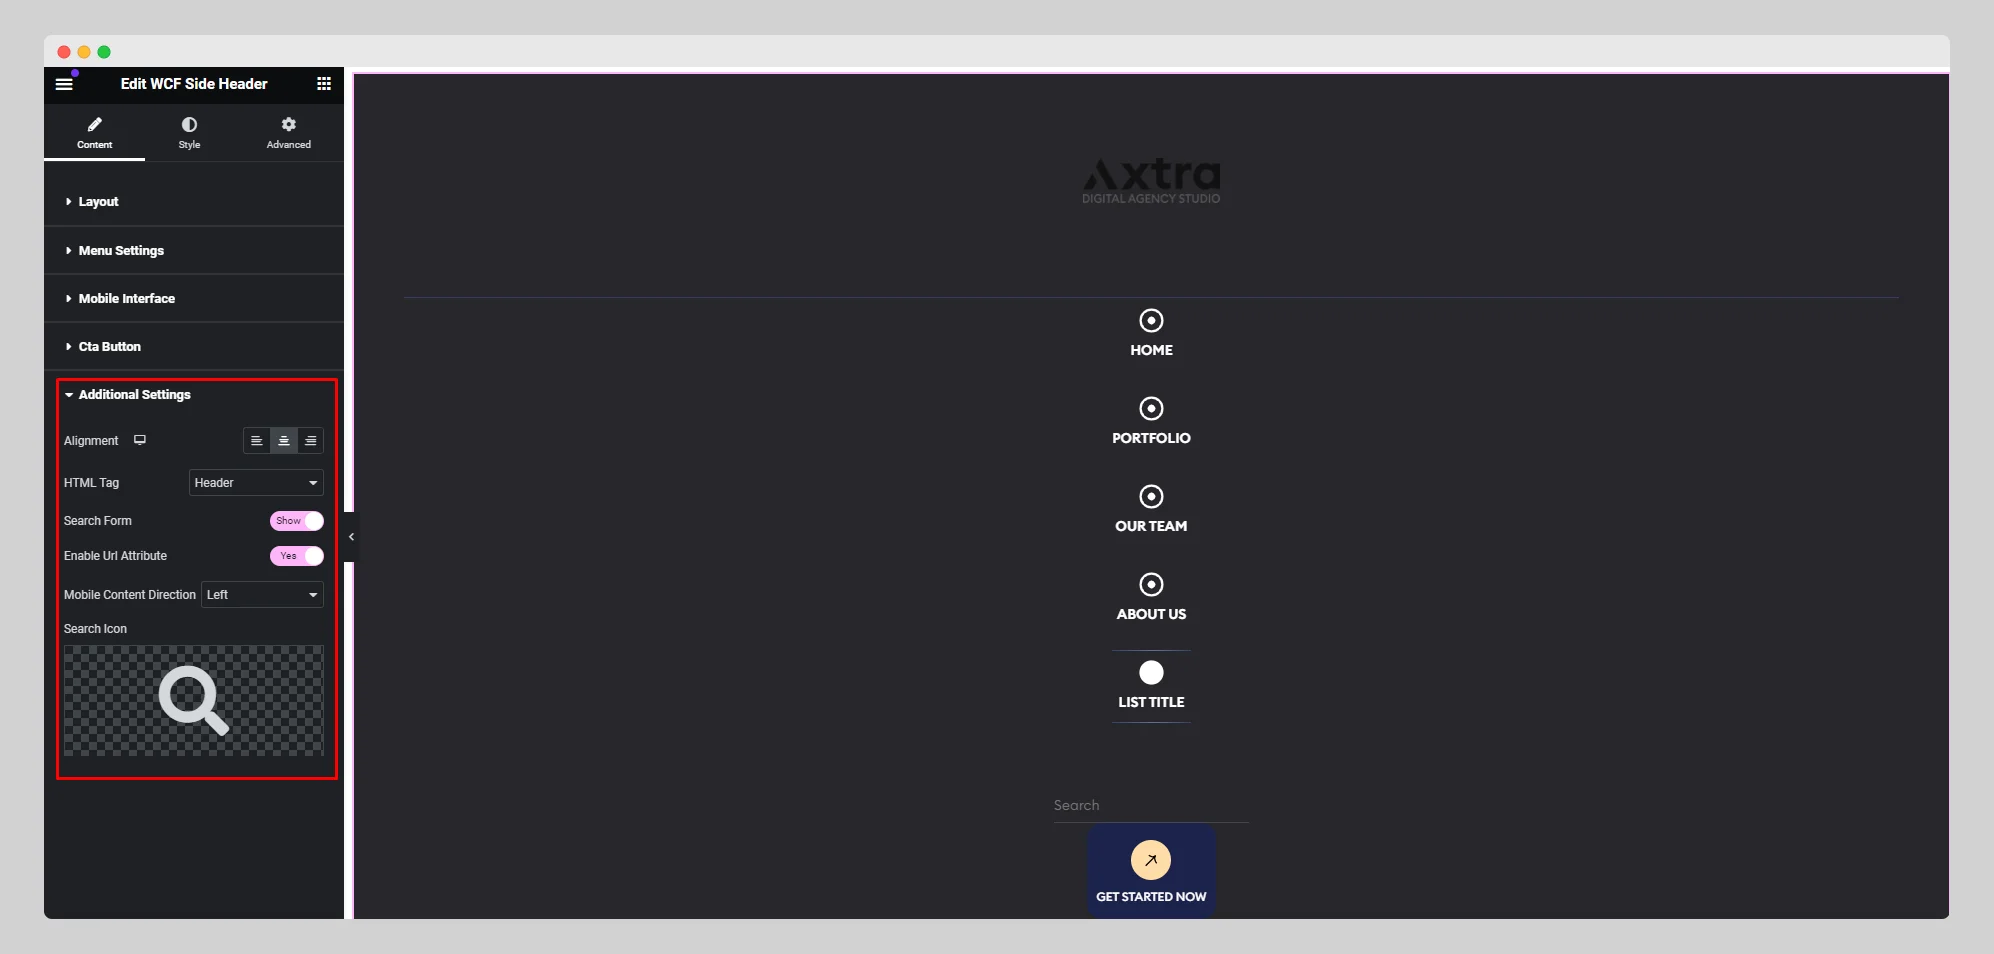
Step-6:
Under the “Additional Settings” section, adjust the alignment, mobile content direction, and HTML tag. Set a search icon and enable the “Search Form” and “Enable Url Attribute” buttons.
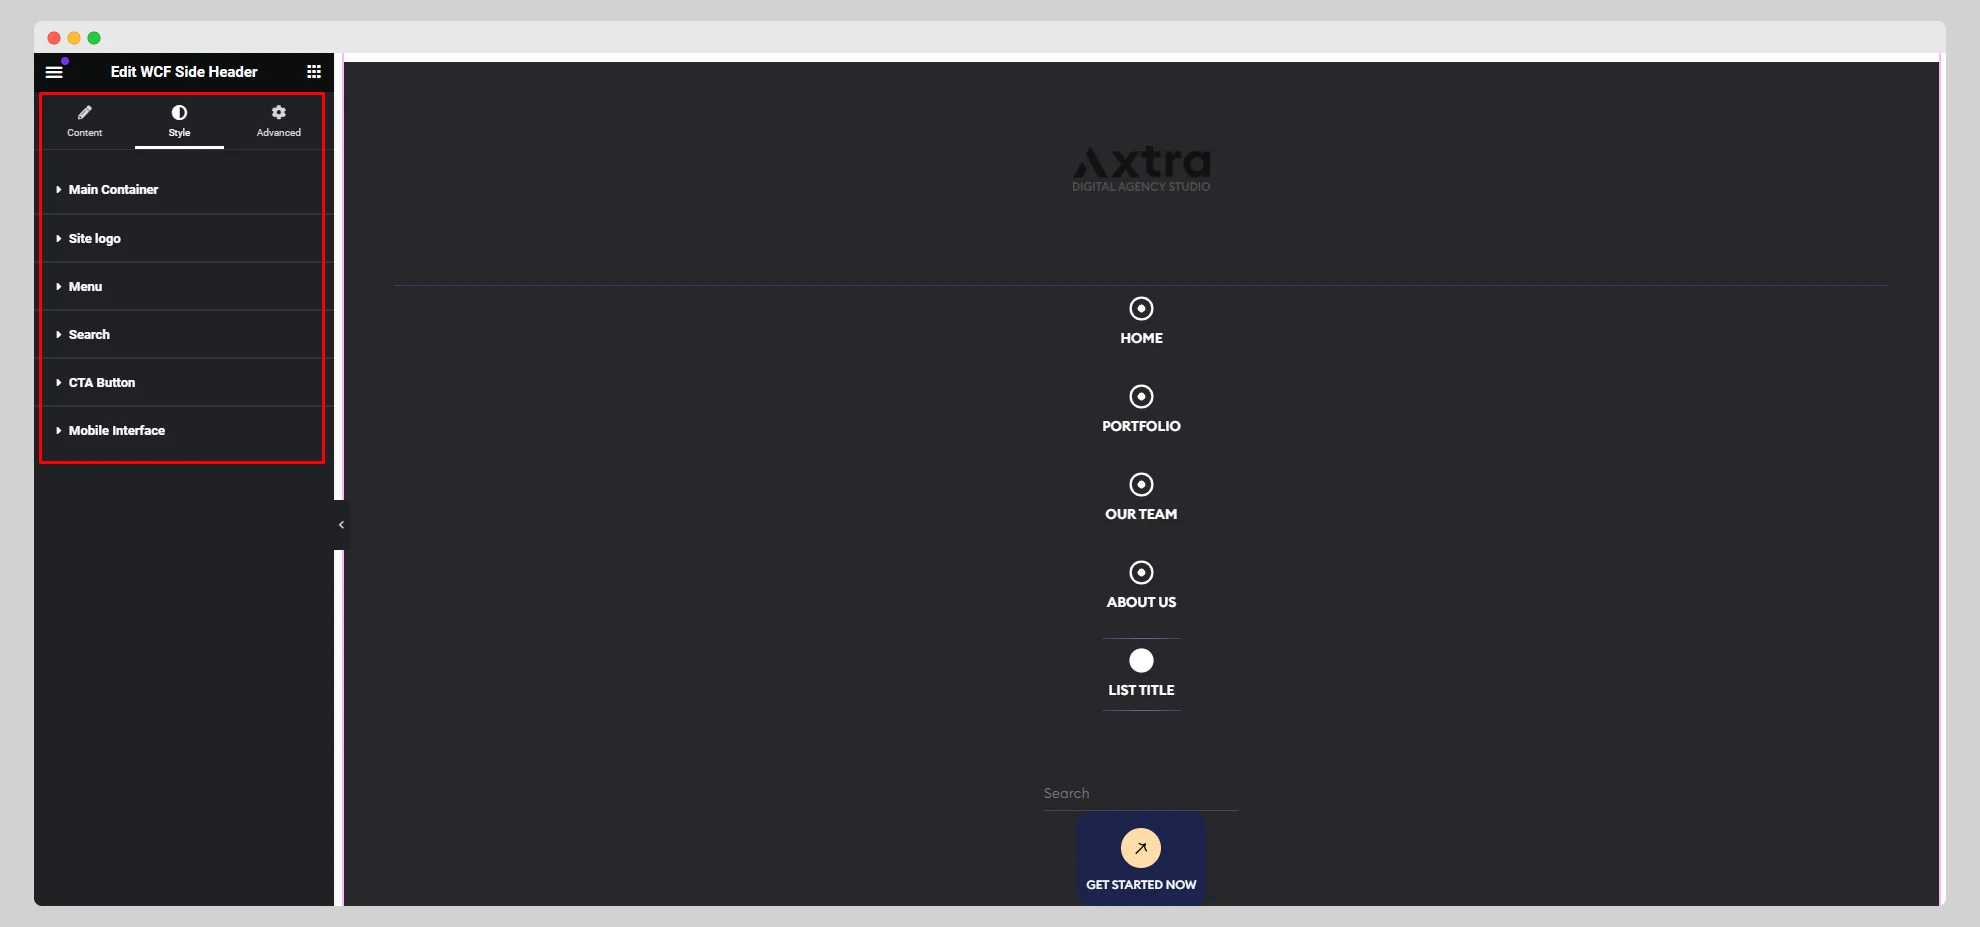
Step-7:
Go to the “Style” section to adjust the additional style for “Main Container,” “Site Logo,” “Menu,” “Search,” “CTA Button,” and “Mobile Interface”.