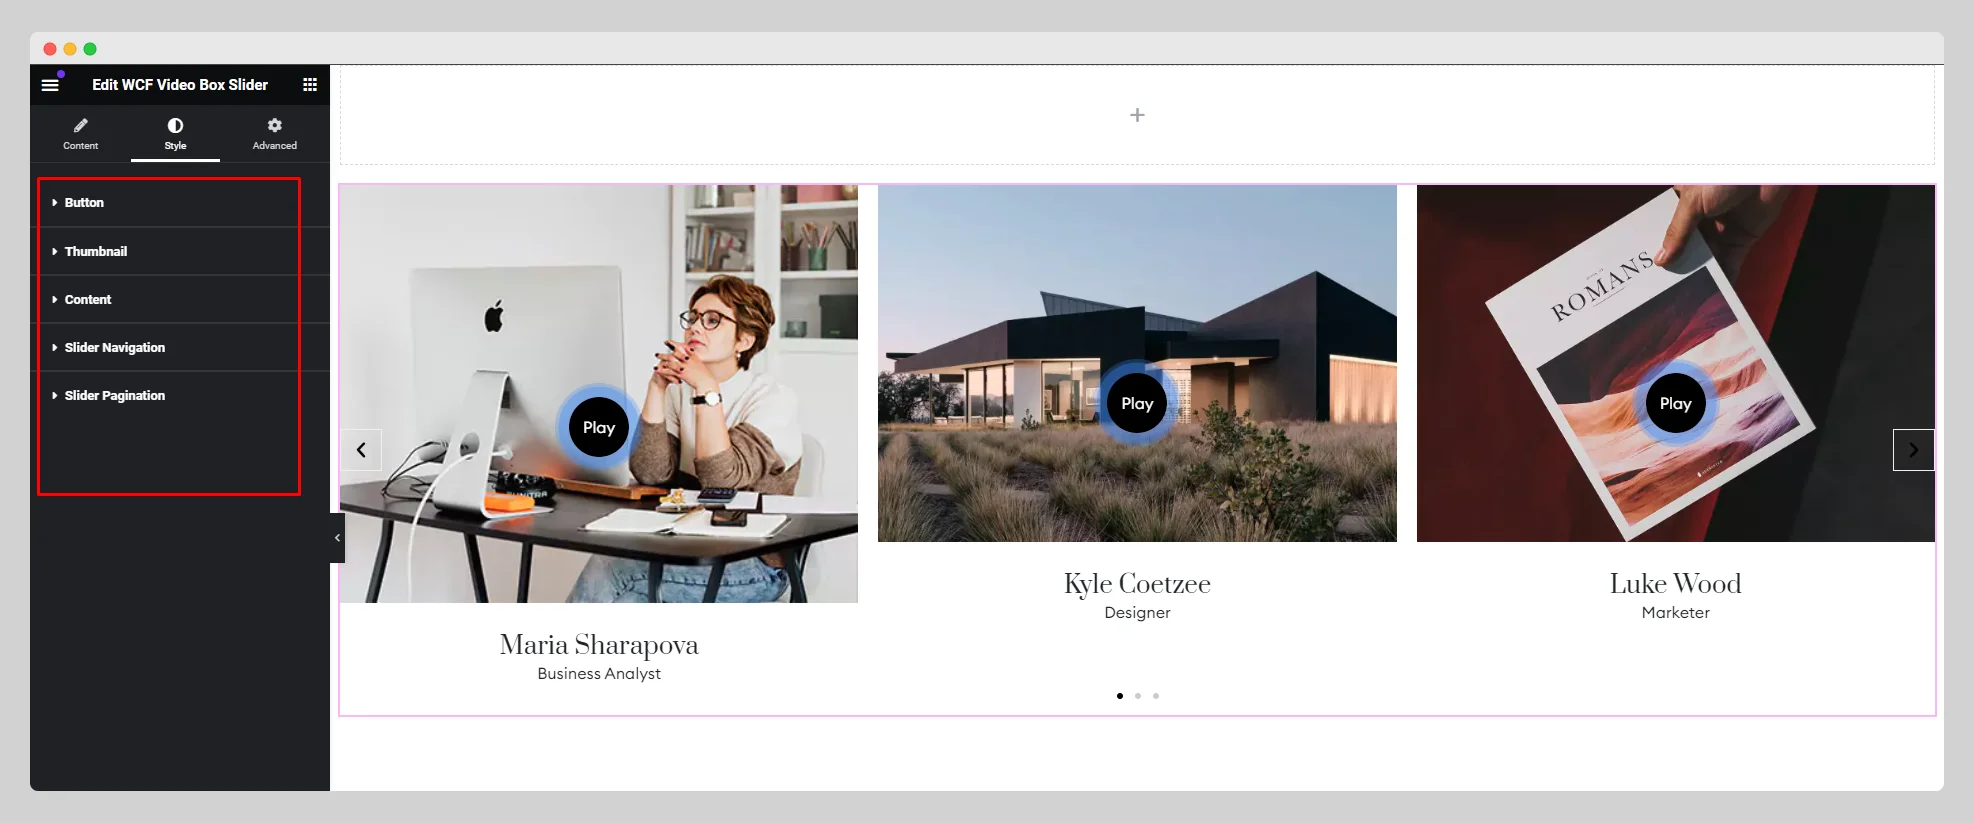
Explore the below documentation to get a clear idea of how to use the WCF Video Box Slider widget:
Step-1:
From the Elementor panel, drag the “WCF Video Box Slider” widget to a container on your page.
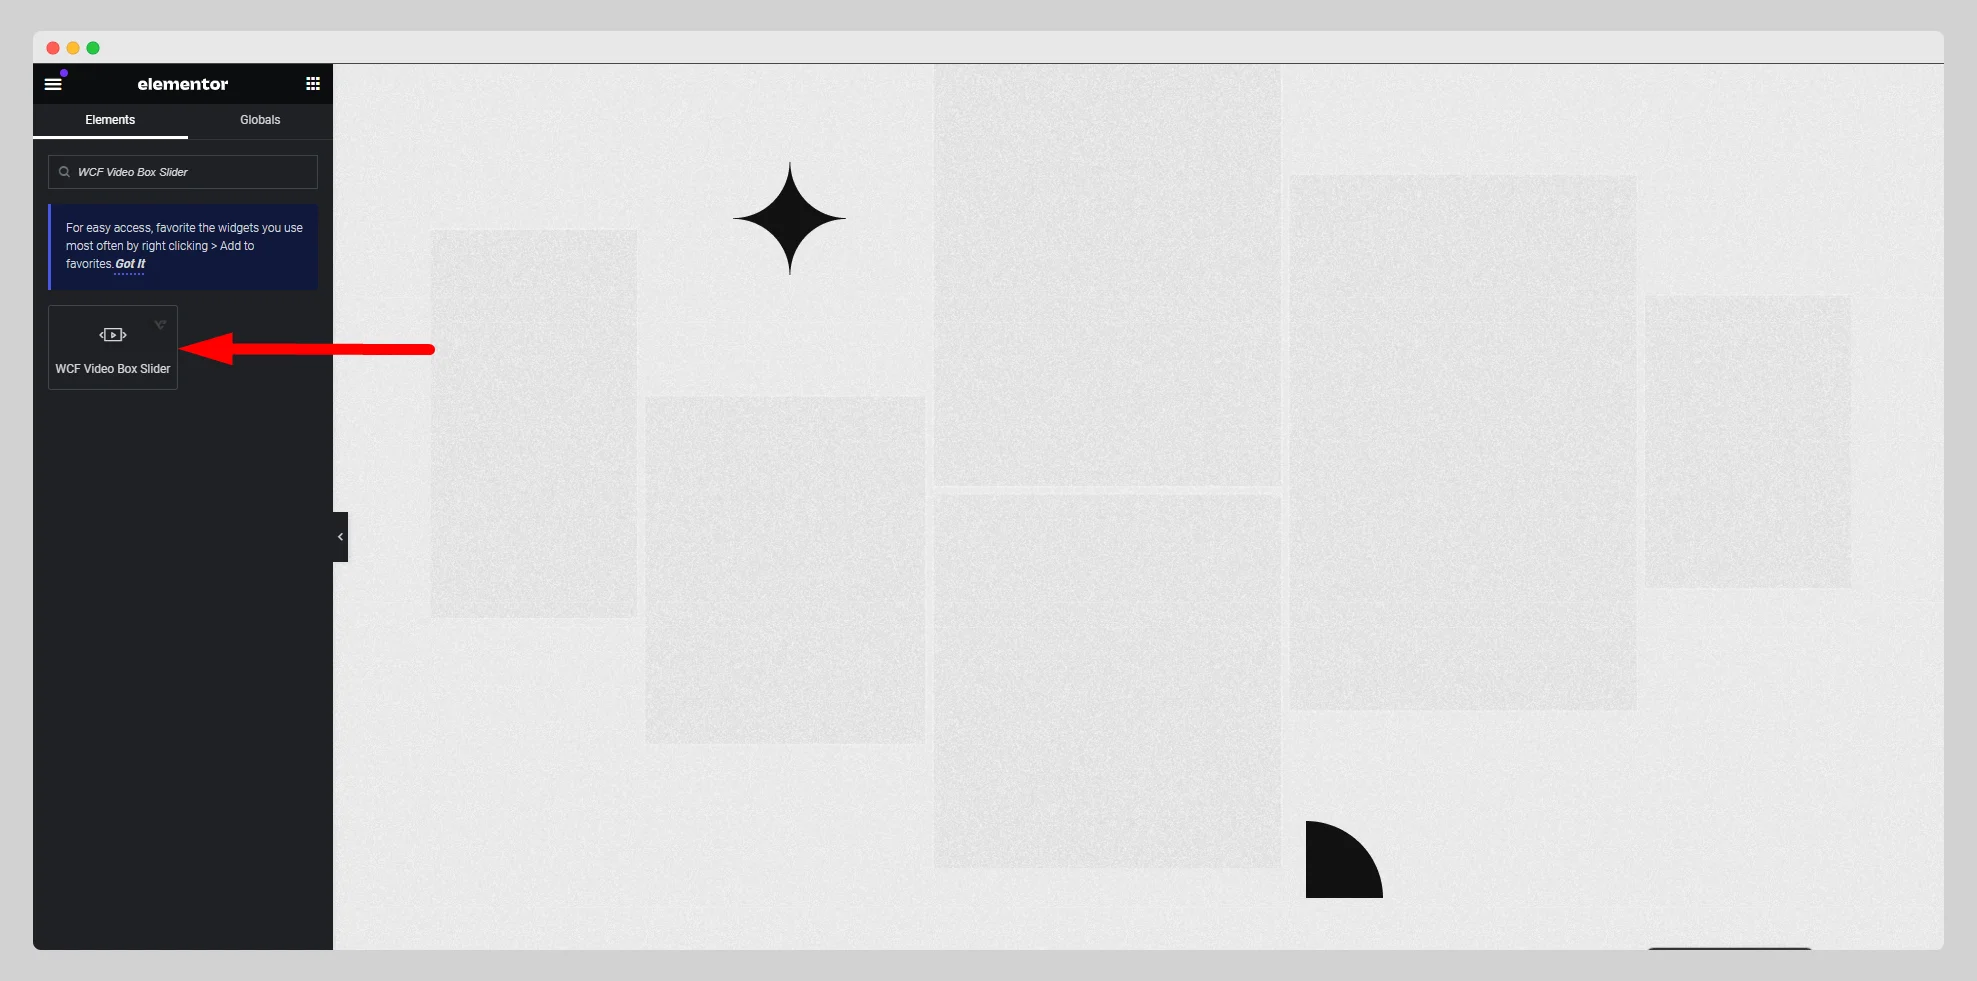
Step-2:
Under the “Video Box Slider” option, click on “Add Item” first.

Step-3:
Attach an image under the “Choose Image” option. Write the video title and subtitle. Attach a link under the “Video Link” option.
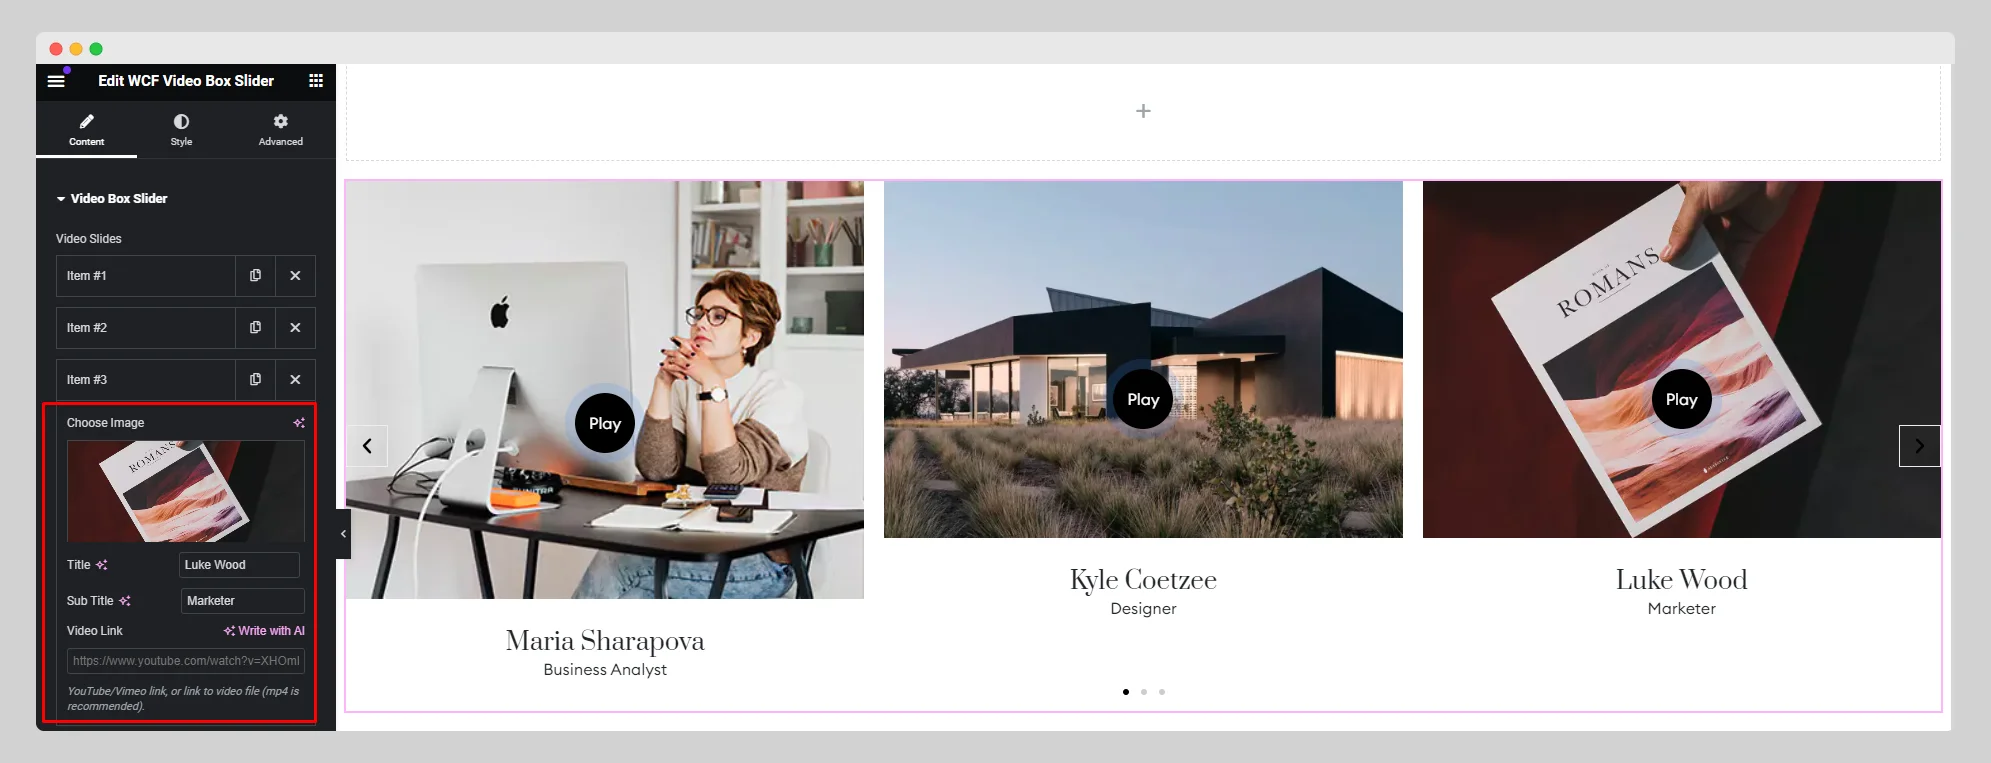
Step-4:
Adjust the title HTML tag, image resolution, and max slider width. Toggle the “Thumbnail After” button and set the display.
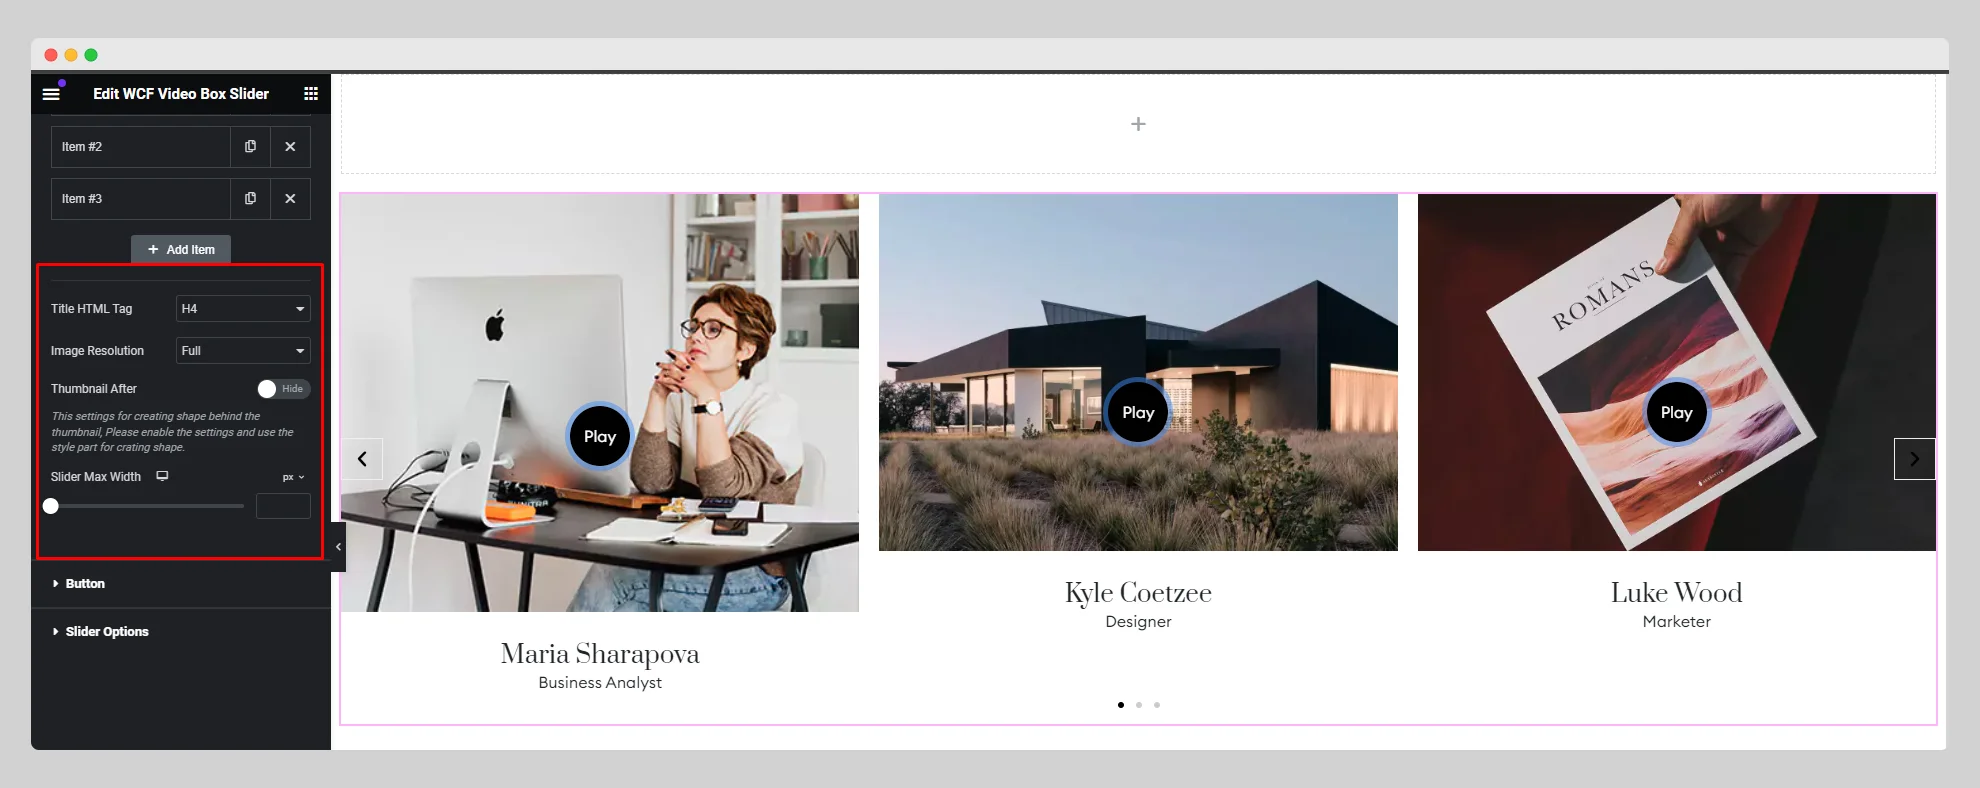
Step-5:
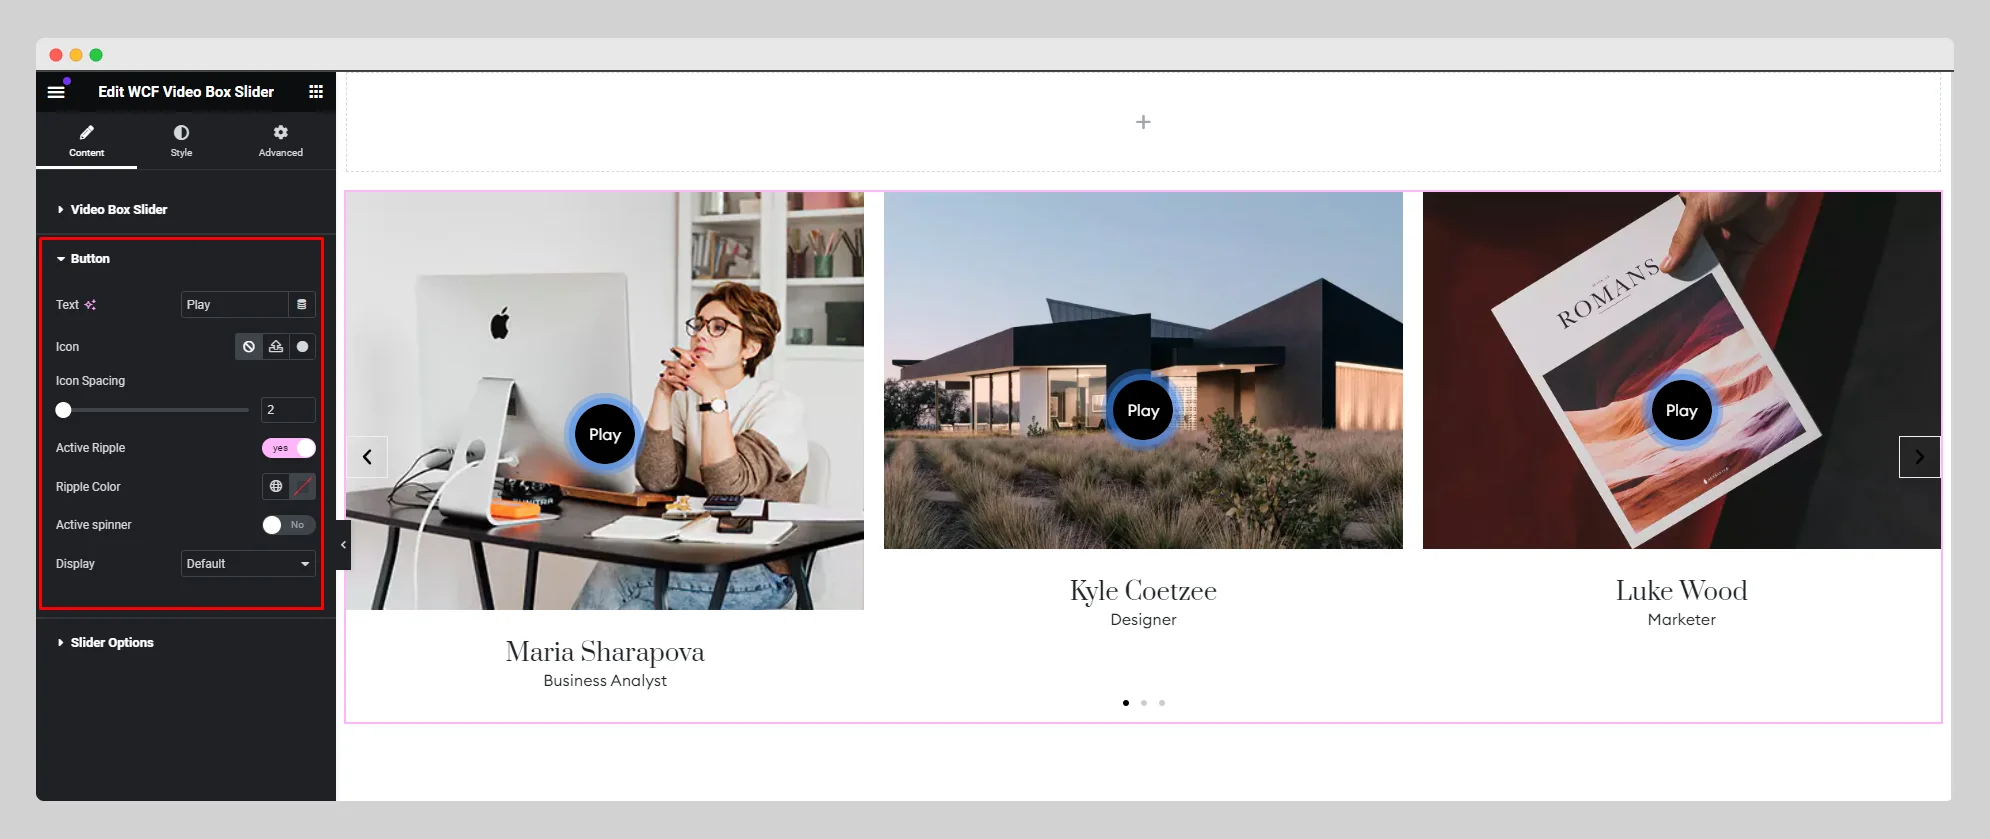
From the “Button” option, write the button text. Set up the icon, icon spacing, ripple color, and display. Enable or disable the “Active Ripple” and “Active Spinner” buttons.
Step-6:
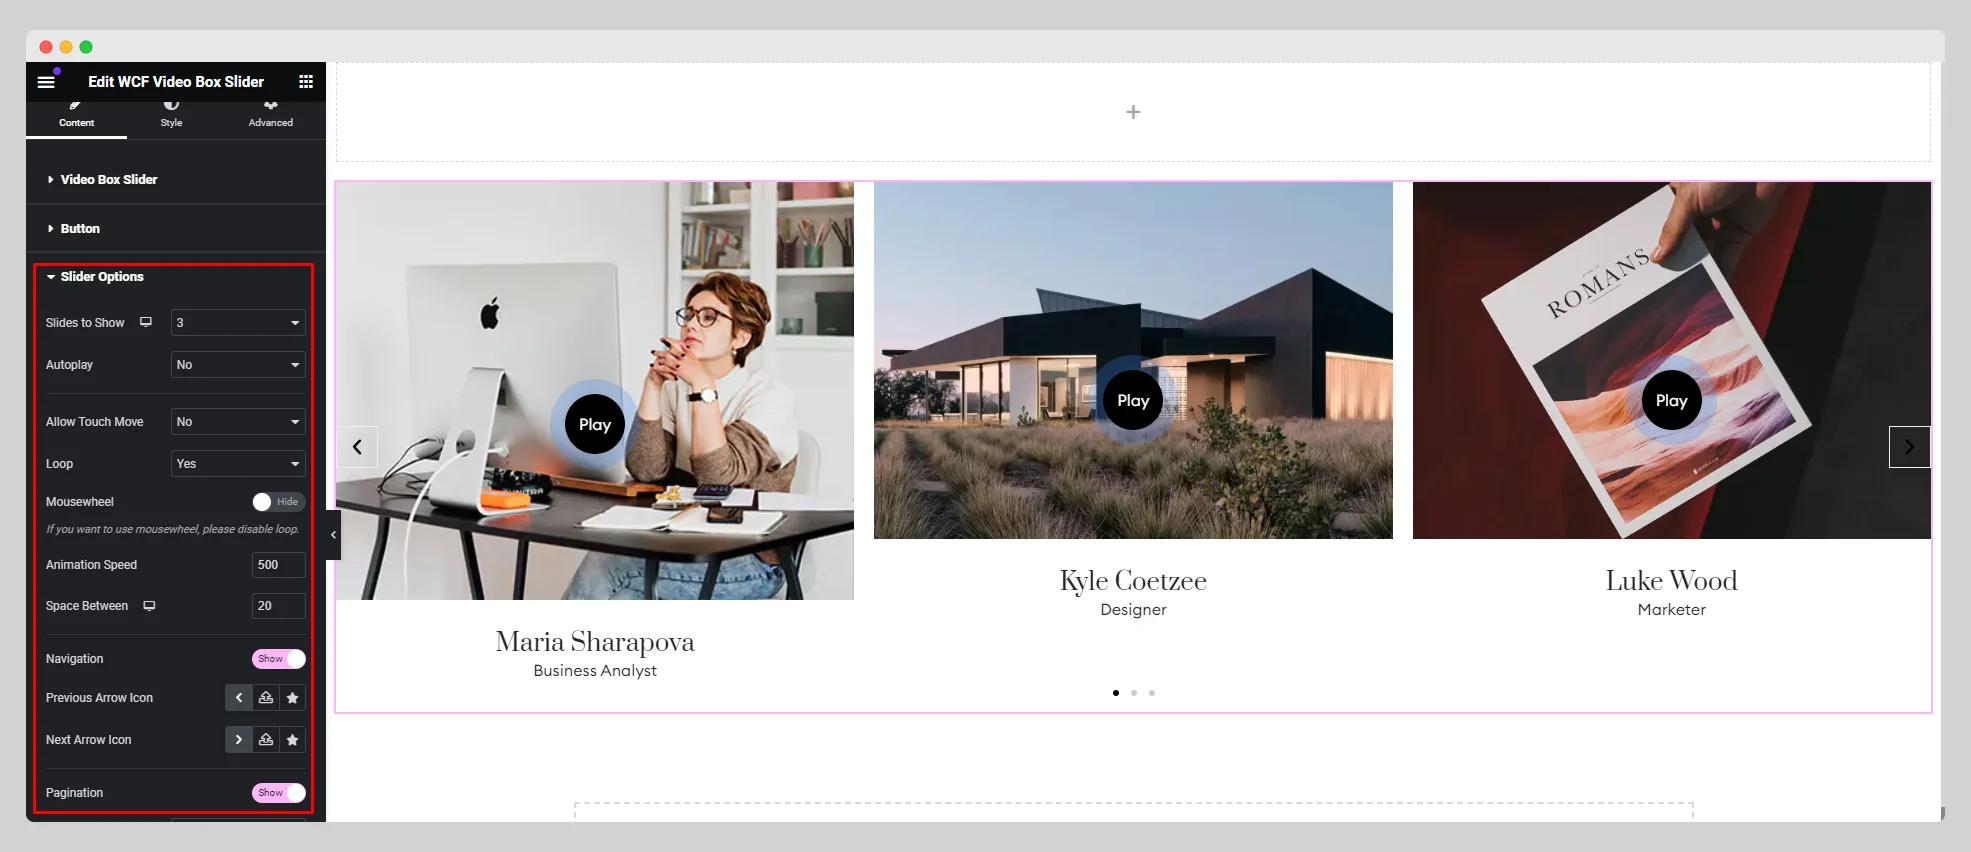
Move to the “Slider Options” Adjust the “Slides to Show,” “Autoplay,” “Loop,” “Pagination,” “Animation Speed,” “Navigation,” “Arrows,” “Direction,” and other necessary parameters.
Step-7:
Under the “Style” section, customize the style for “Button”, “Thumbnail”, “Content”, “Slider Navigation”, and “Slider Pagination.”.
