Explore the below documentation to get a clear idea of how to use the WCF Video Mask widget:
Step-1:
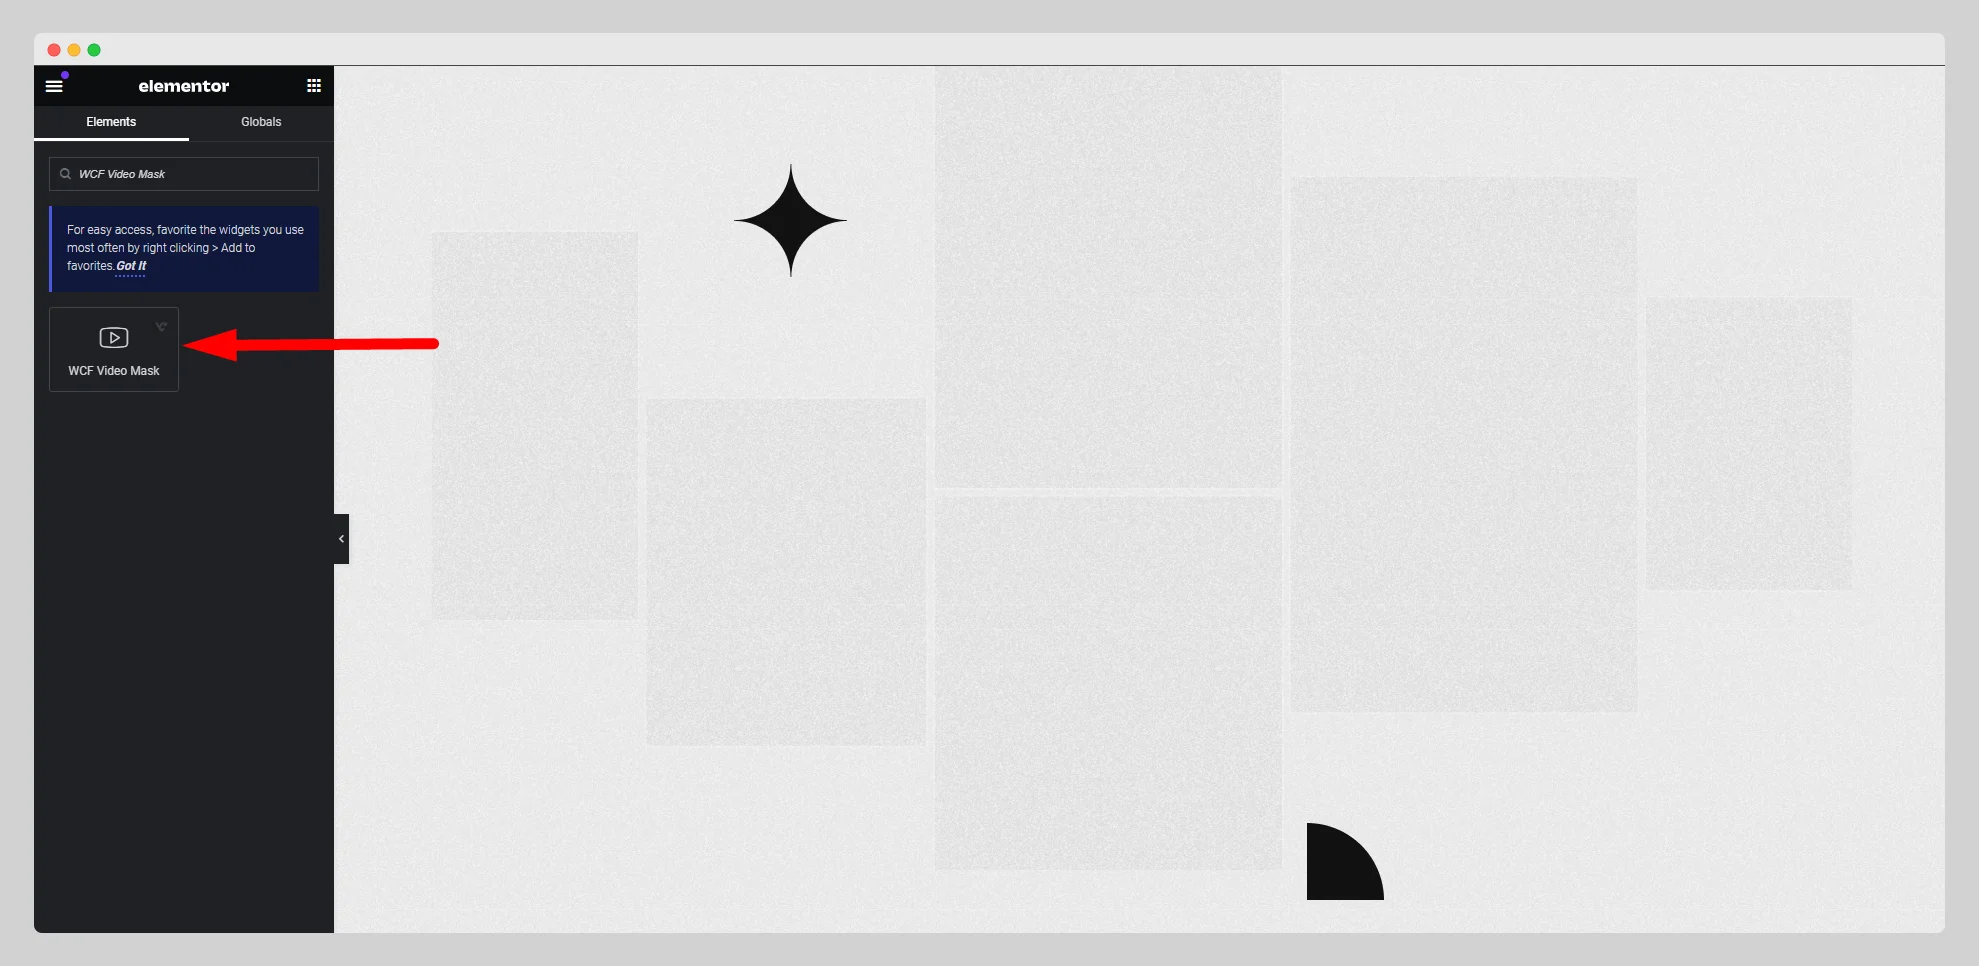
From the Elementor panel, drag the “WCF Video Mask” widget to a container on your page.
Step-2:
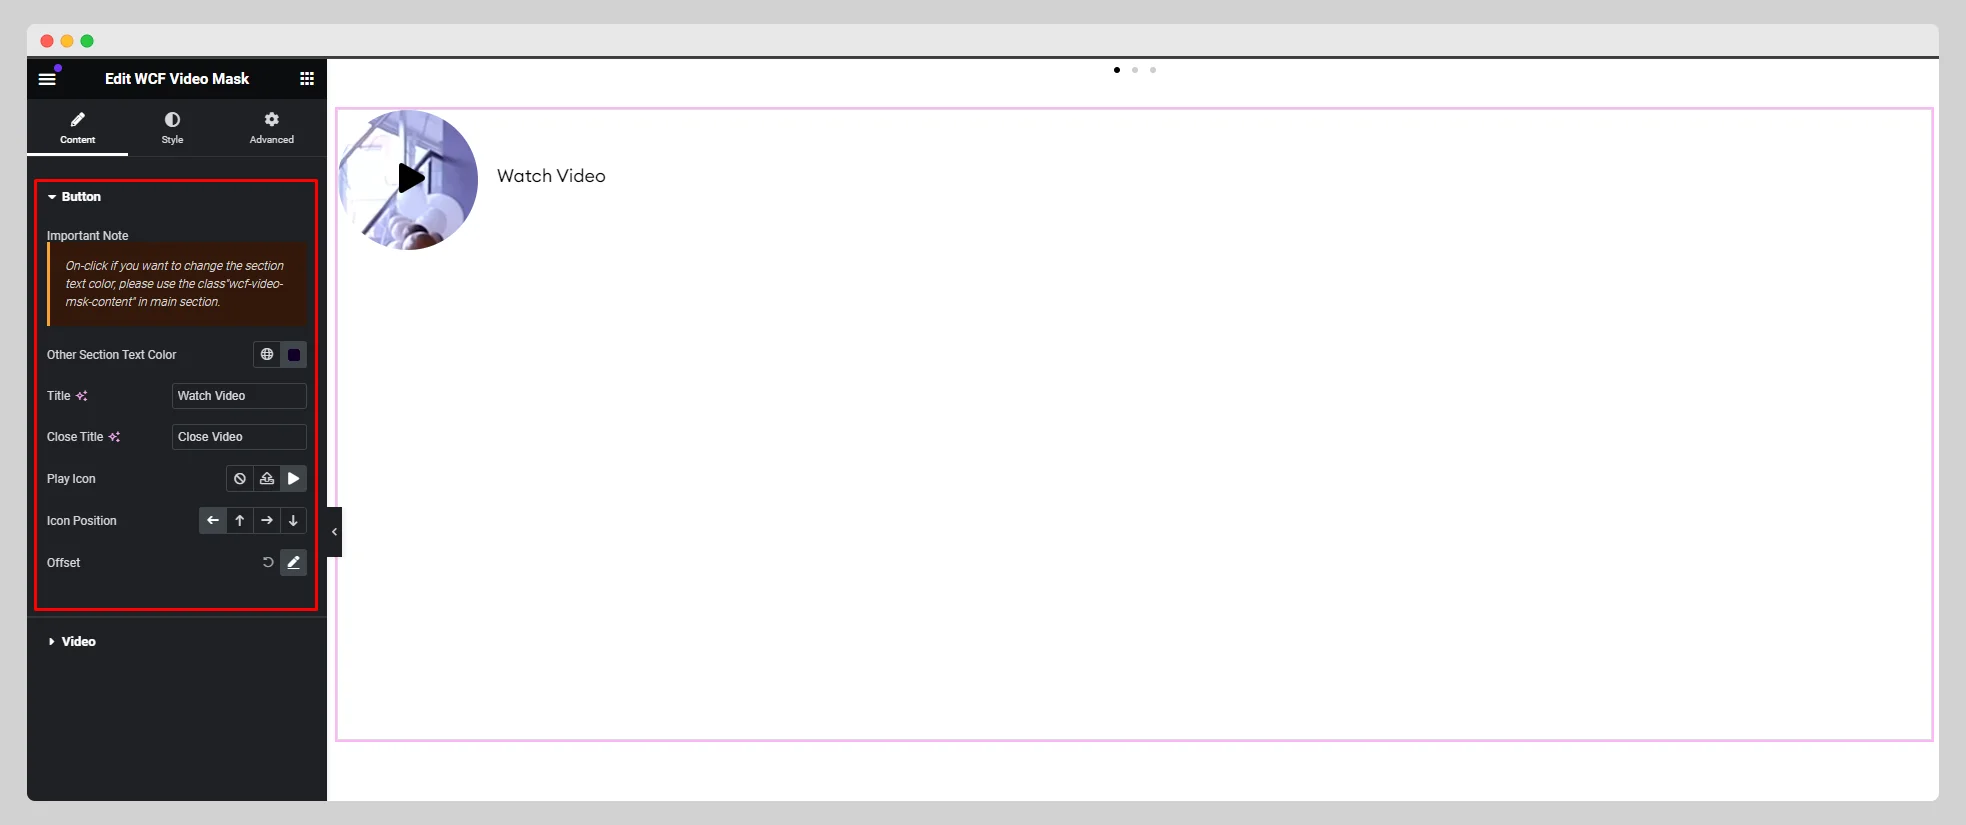
Under the “Button” option, write the “Title” and “Close Title”. Adjust the play icon, icon position, and offset. Customize the other section’s text color.
Step-3:
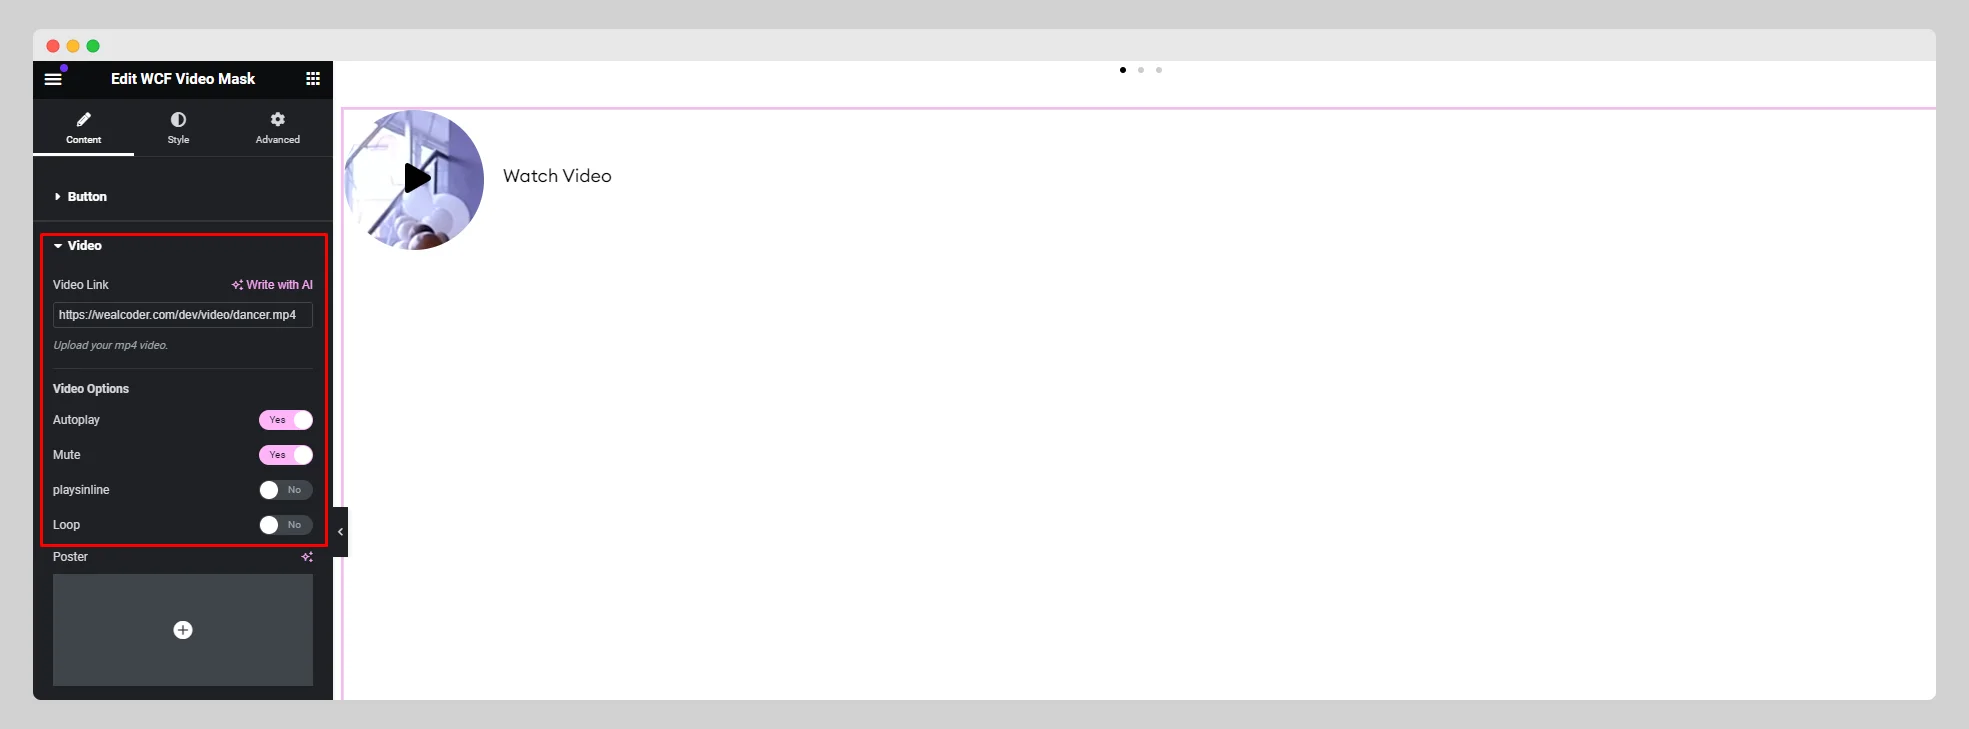
Move to the “Video” option and attach the video link under the “Video Link” option. Enable or disable the “Autoplay,” “Mute,” “Loop,” and “Playsinline” buttons as per needs.
Step-4:
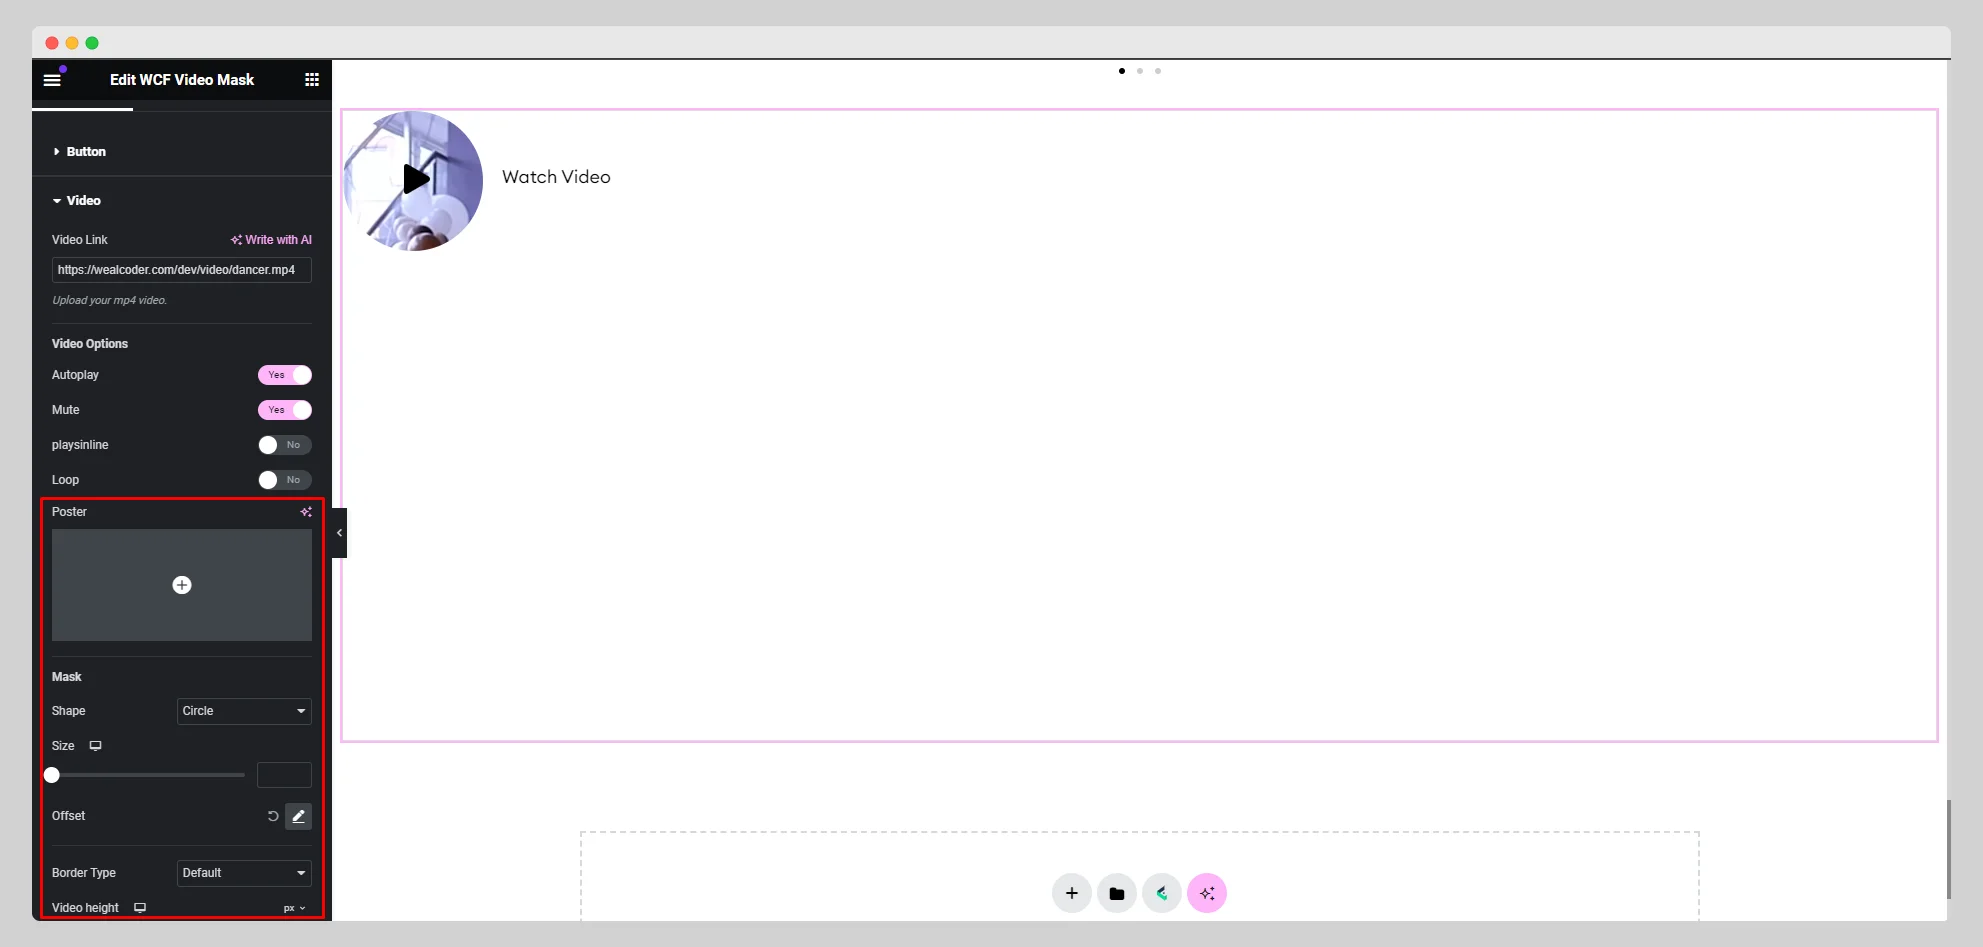
Under the “Poster” option, choose an image. Select a shape from the drop-down list located next to the “Shape” option. Adjust the size, offset, border type, and video height.
Step-5:
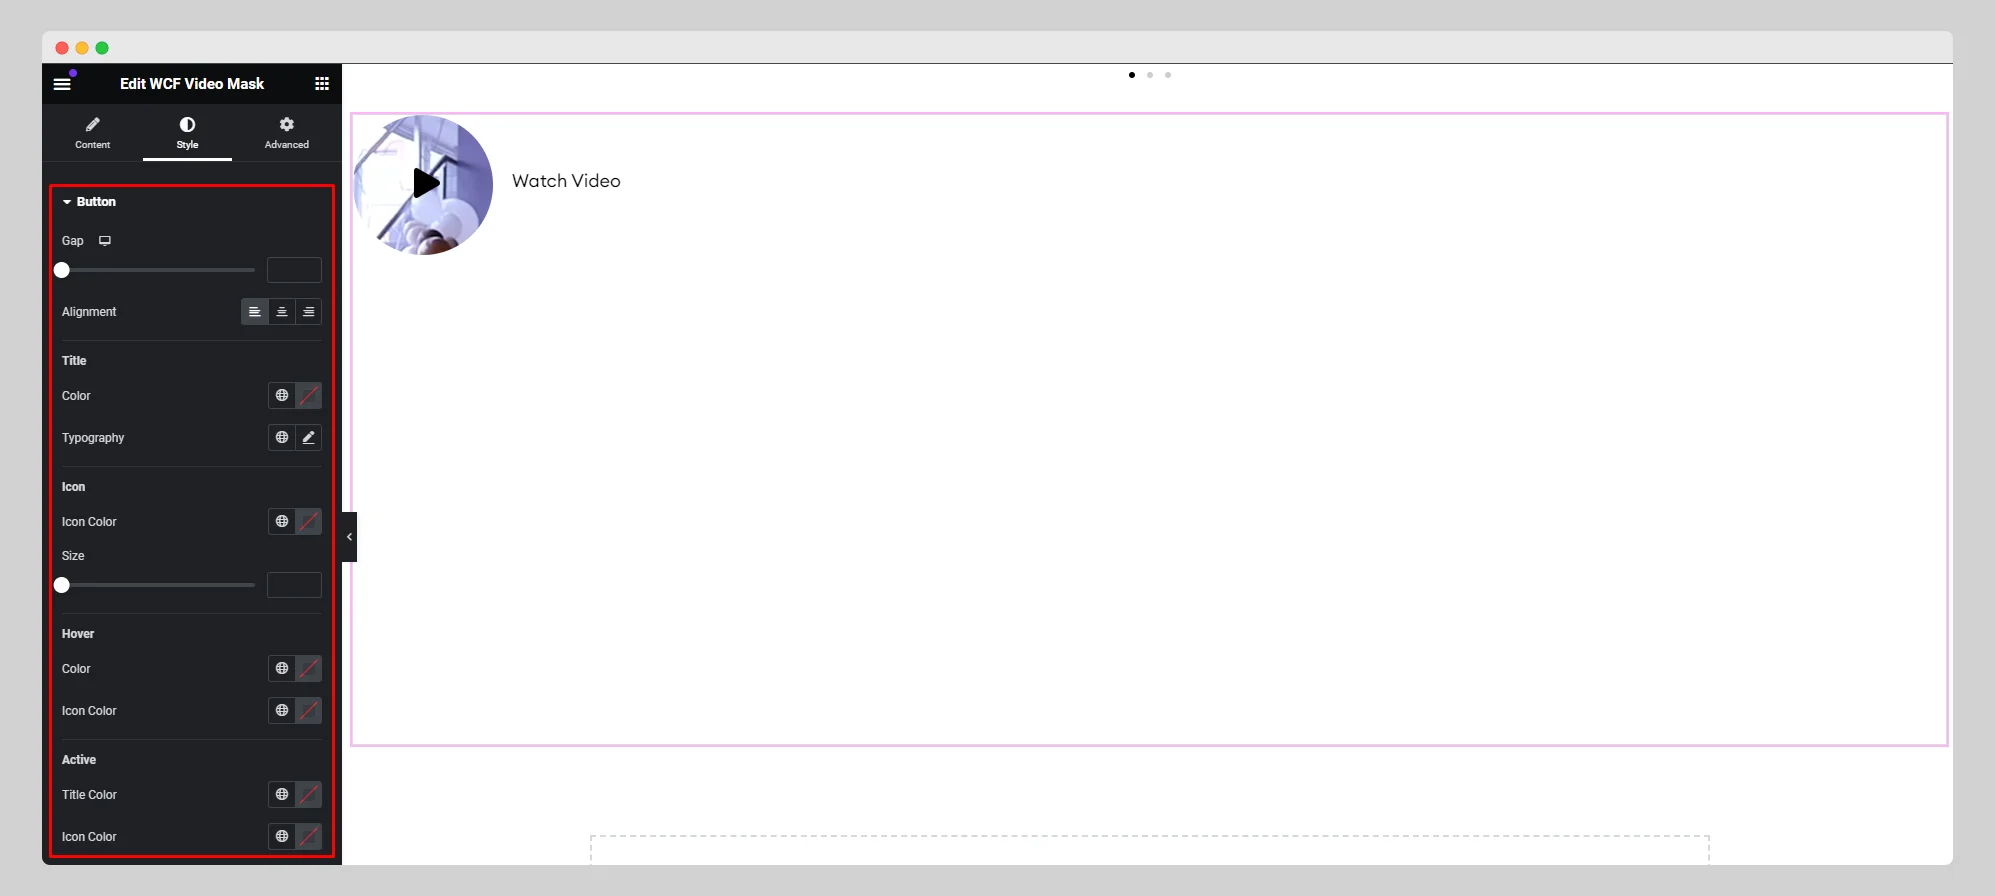
Under the “Style” section, customize the style for the button by adjusting the icon, typography, alignment, title, hover, active, and other parameters.
